Bar-QR-code-scanners
# CENG 317 - Relay Modules and Buzzer
Table of Contents
- September 6, 2017 - Week 0
- September 18, 2017 - Week 1
- September 25, 2017 - Week 2
- October 02, 2017 - Week 3
- October 16, 2017 - Week 4
- October 23, 2017 - Week 5
- November 27, 2017 - Week 6
- December 04, 2017 - Week 7
- December 11, 2017 - Week 8
- December 18, 2017 - Week 9
- January 08, 2018 - Week 10
- January 15, 2018 - Week 11
- January 22, 2018 - Week 12
January 12, 2018 - Week 12
Built Instrucation
Here is my Built Instruation For my Project Please feel free to Clone it :) Built Instruaction
January 15, 2018 - Week 11
Presentation
Today is my Final Presenation
January 08, 2018 - Week 10
report
My Progress Report

December 18, 2017 - Week 9
video
I have made my 30 seconds of video and here is ths link for it
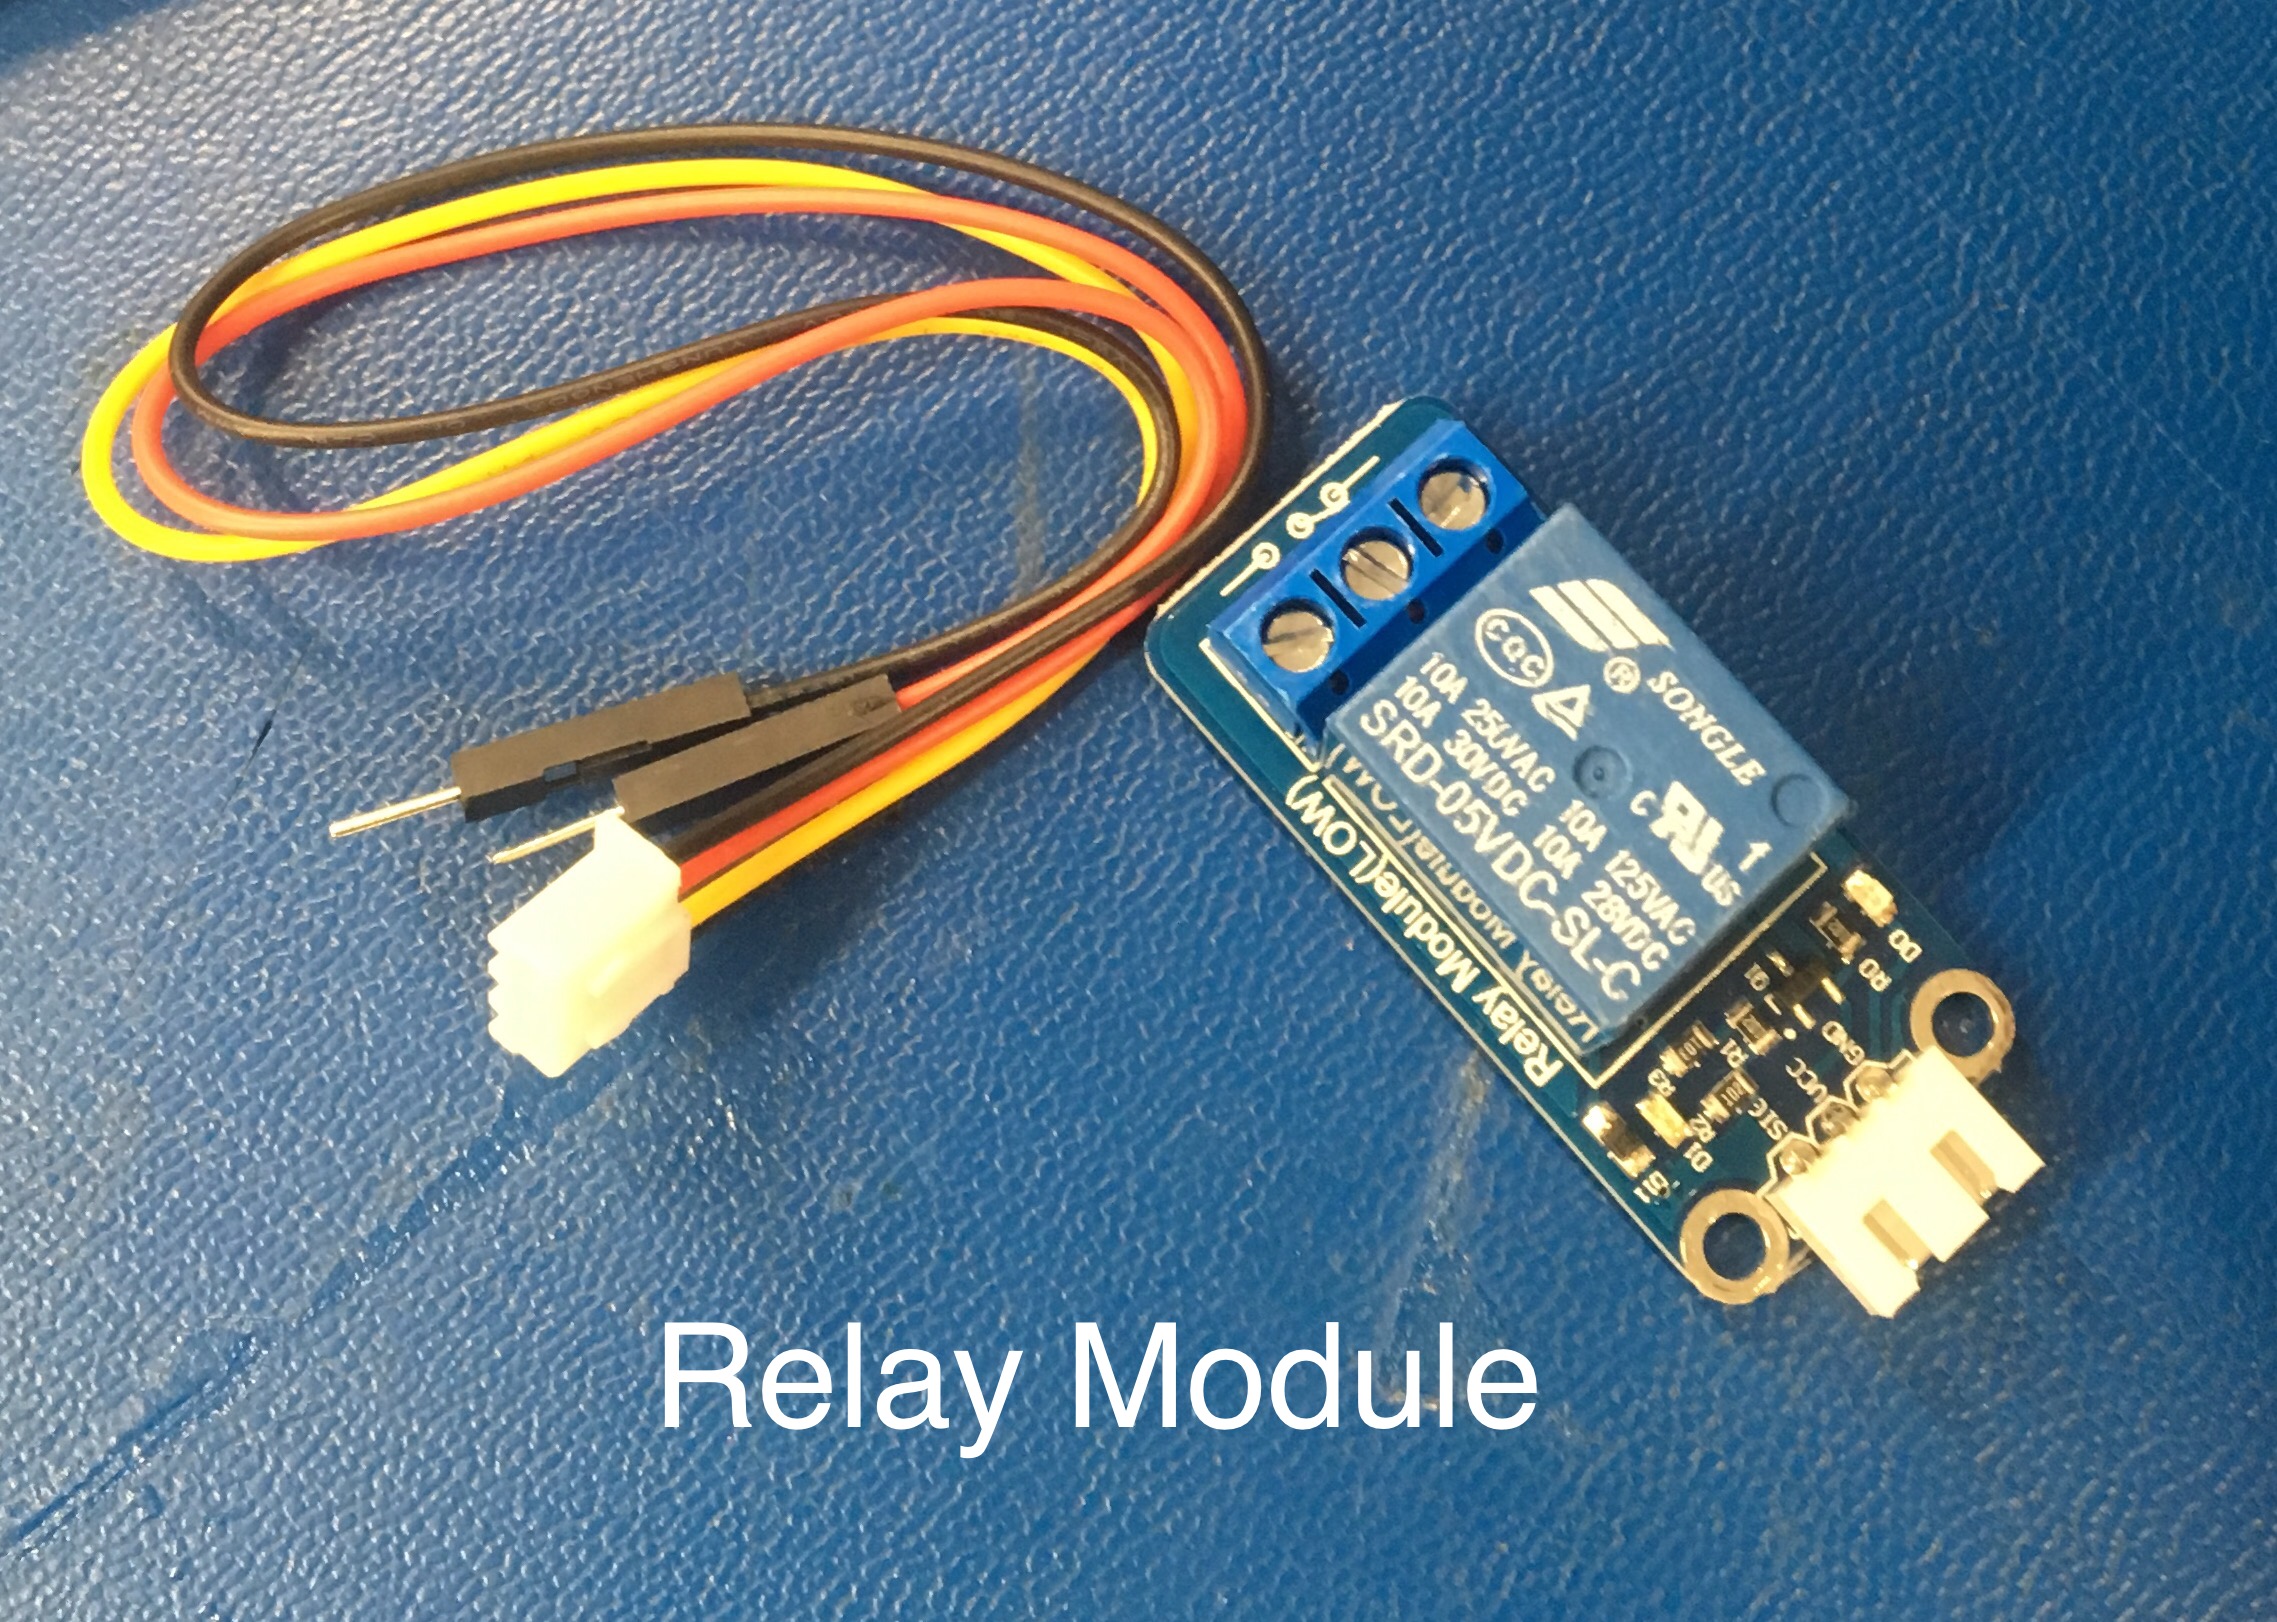
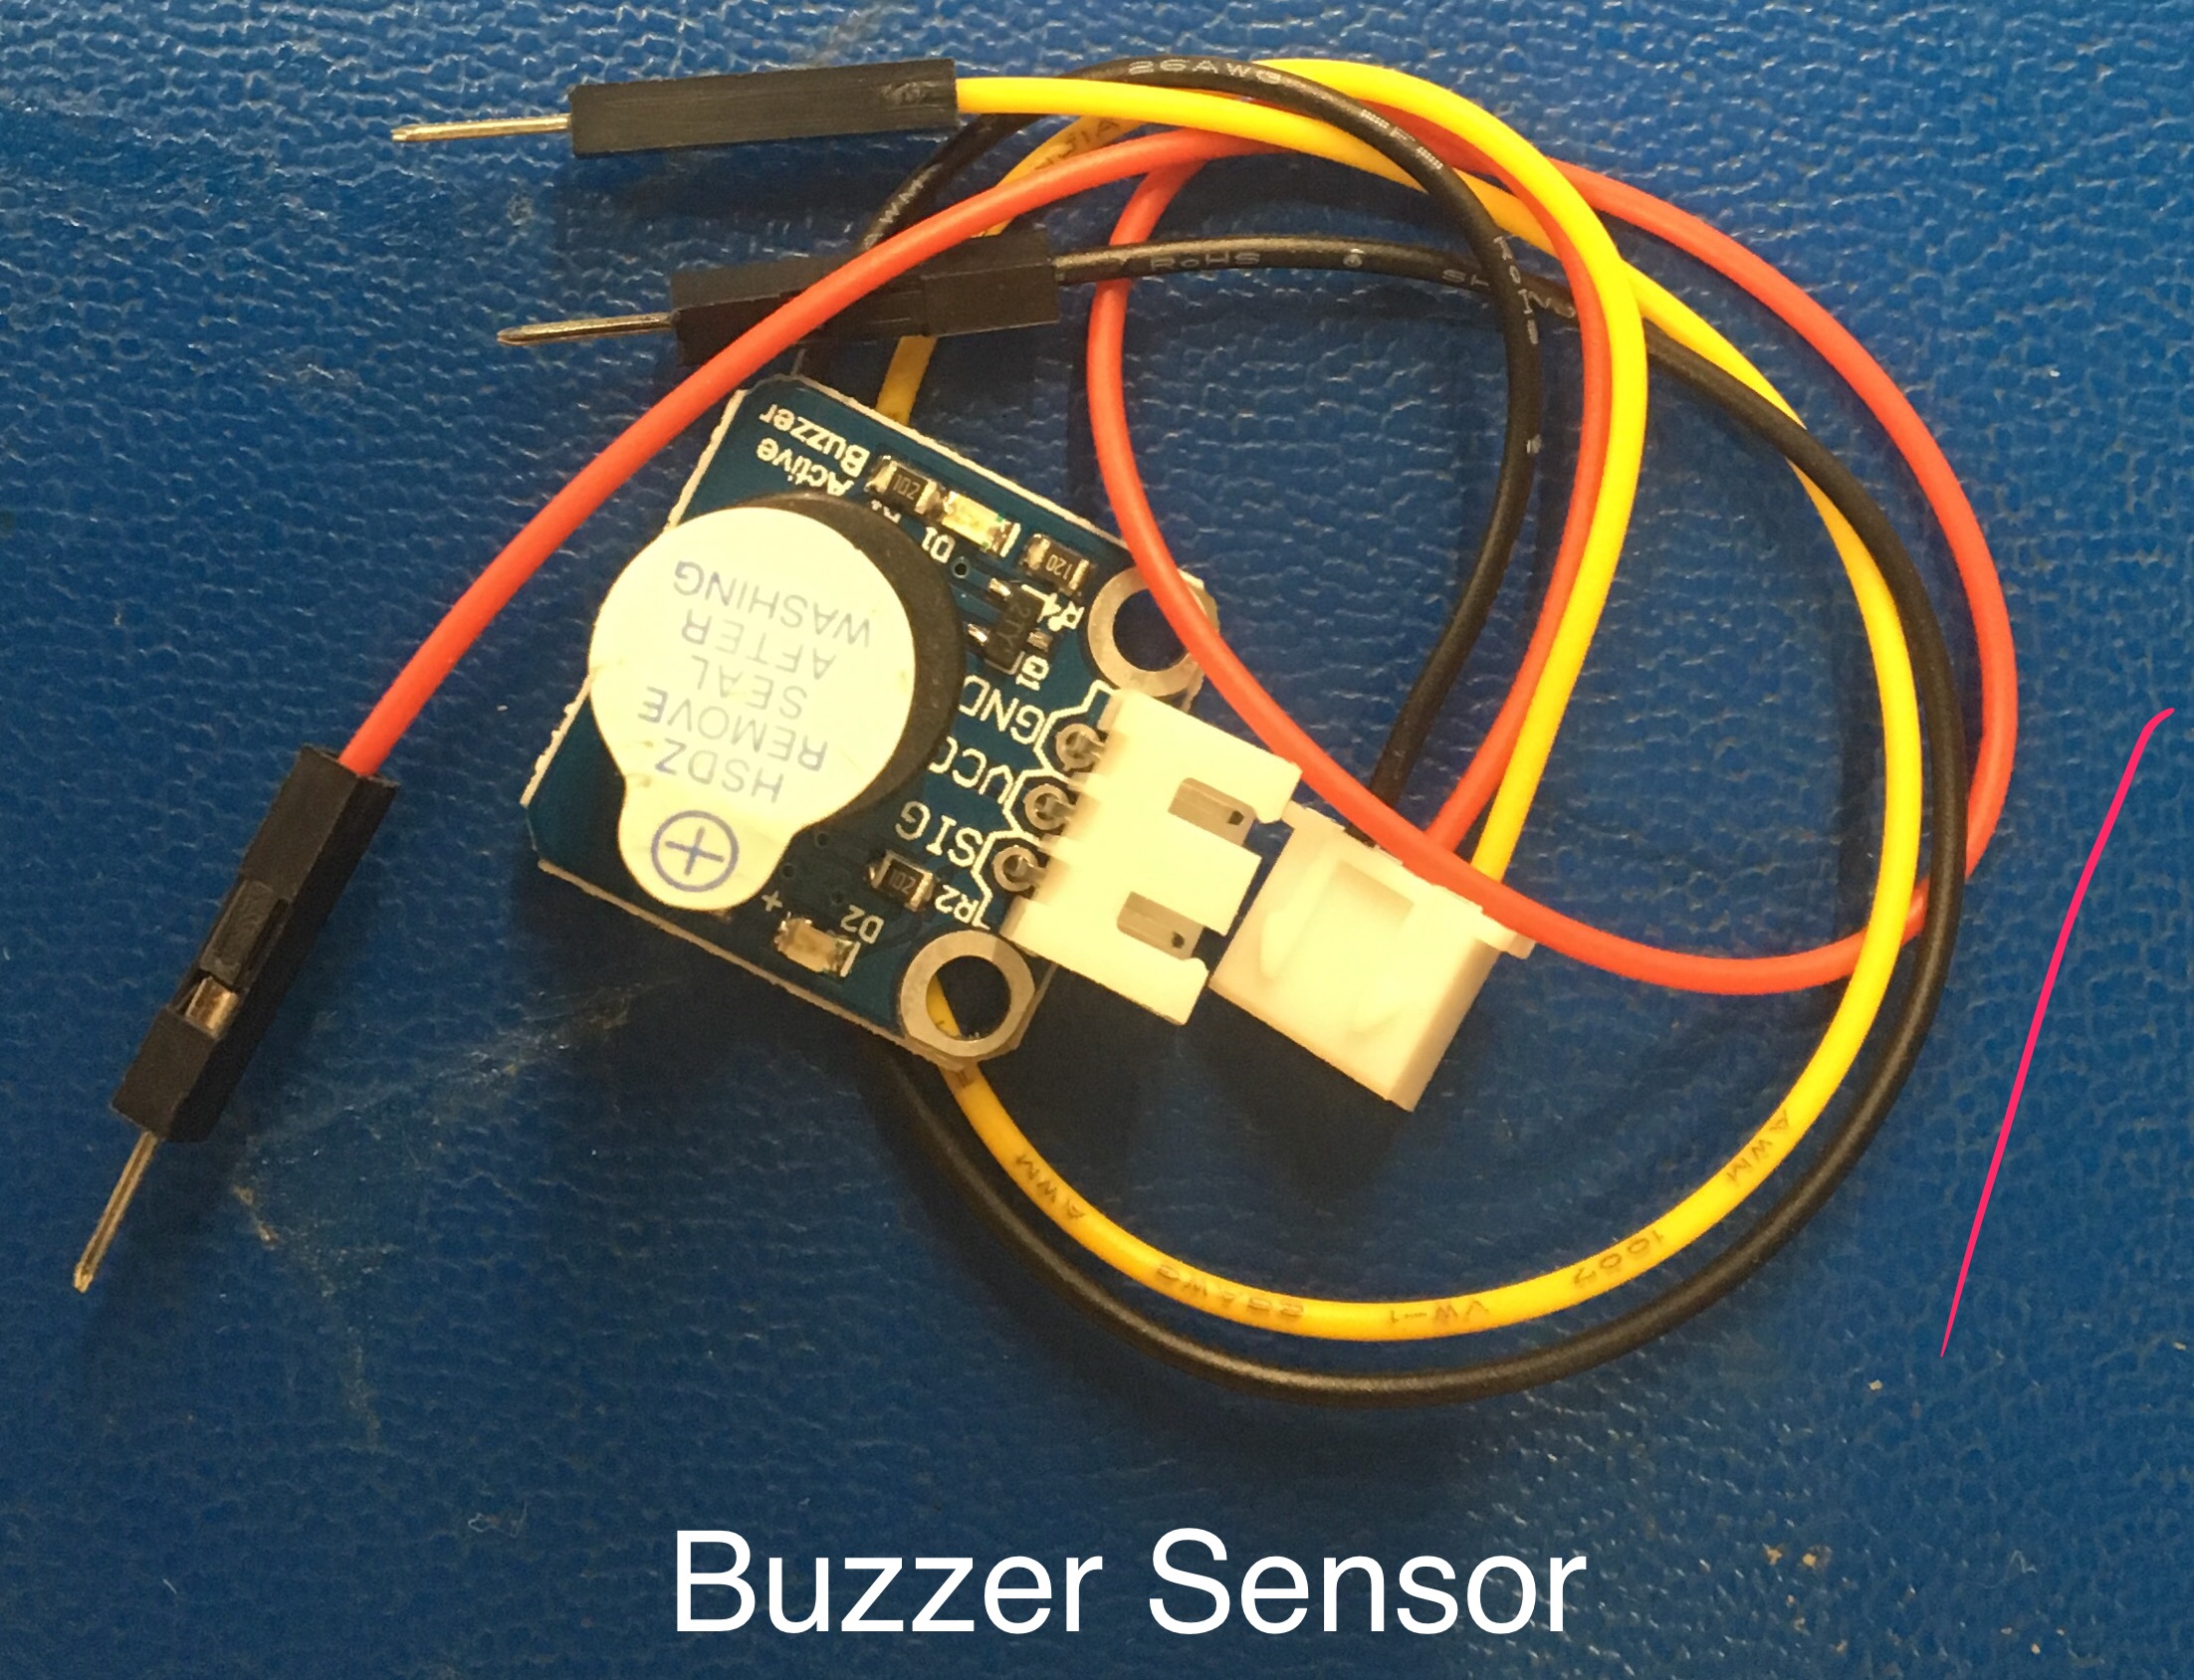
In E-money transfer, I am using relay module as my sensor. I’m using this sensor for security purposes. I am going to connect my relay module to raspberry pi3 and I also have a buzzer which is used to indicate the output of the relay module. The relay module will detect if the payment has done or not with the barcode created by my app from software. Once it detects that product has been stolen then the buzzer will go off indicating that the transaction has not been made. By this way we can prevent scamming.
30s of video
Report:
I was able to show my parts that I purchased and the how I am connacting my sensor to respberry pi3 and making them power up!
December 11, 2017 - Week 8
Pla Card
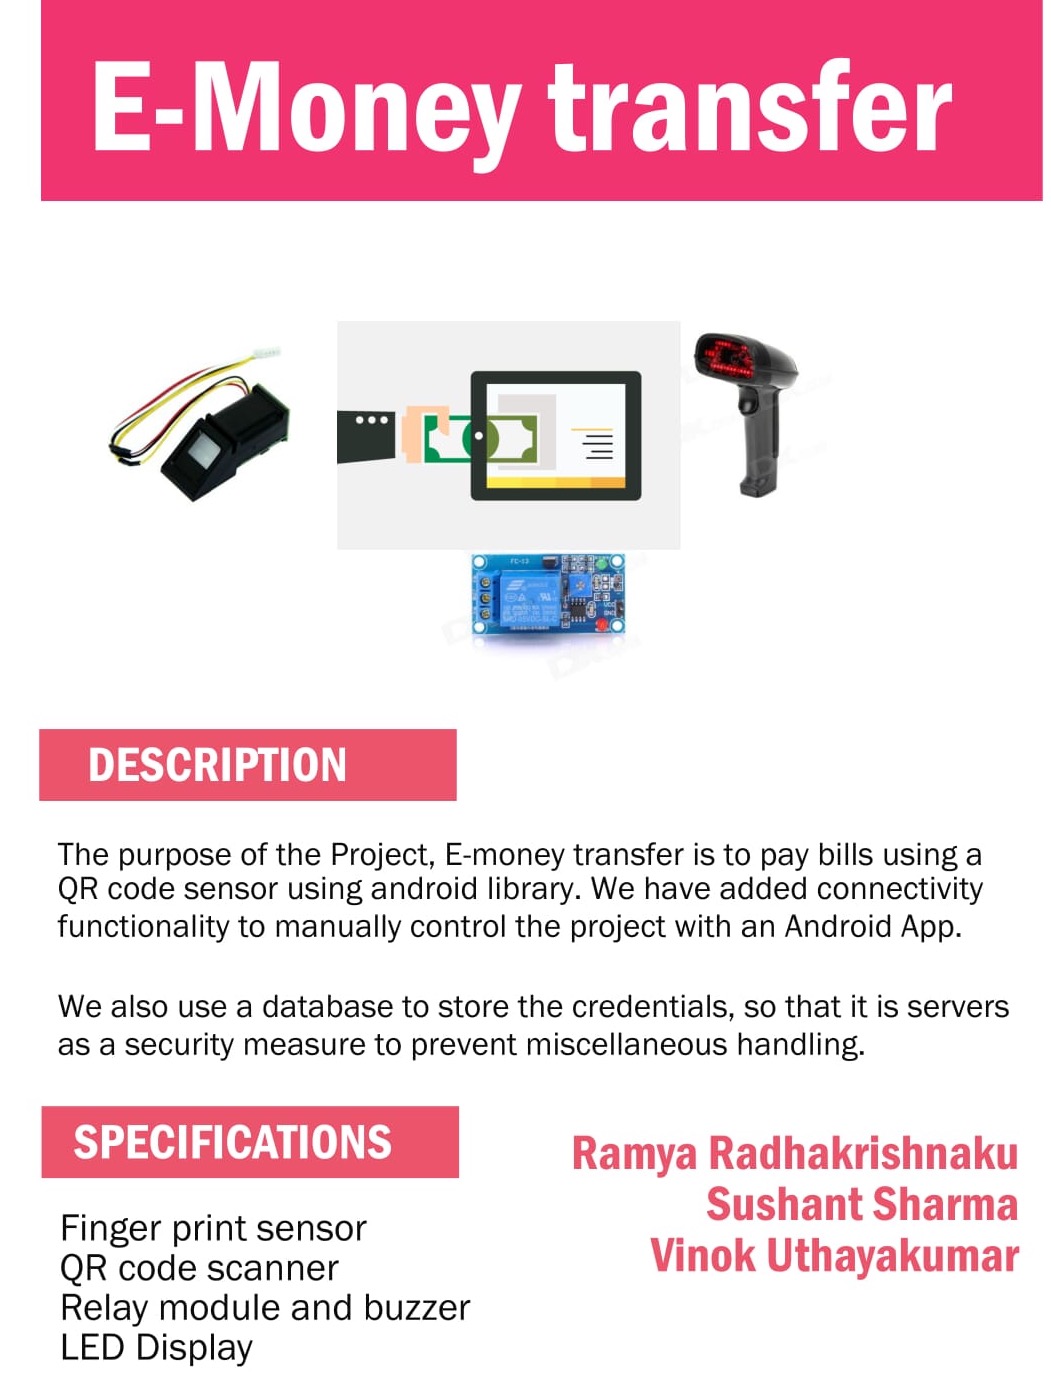
My 30 second Script
Here is mt script :
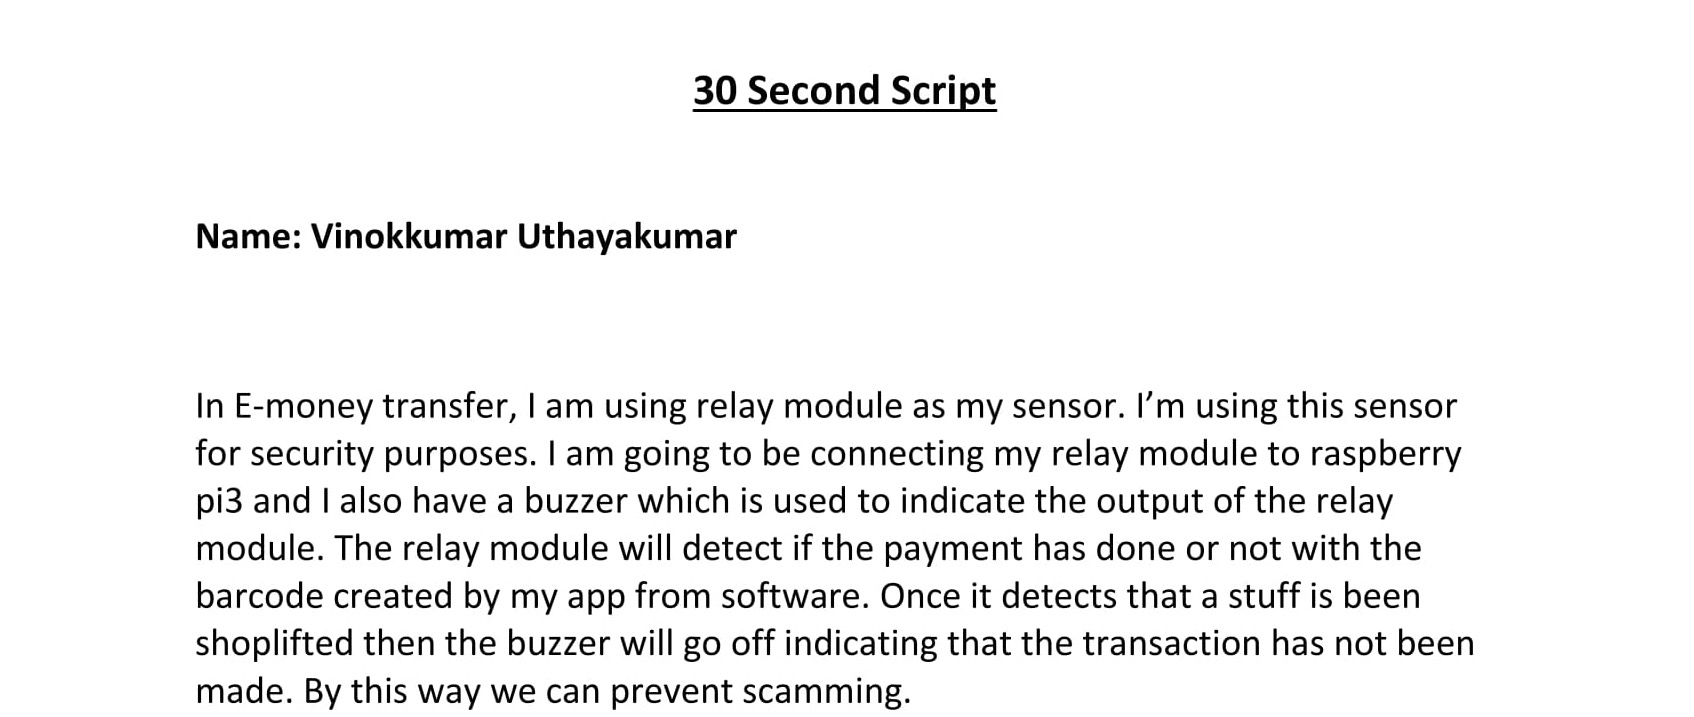
This is my Word file 30s scripting
Click here for word file
December 04, 2017 - Week 7
Moment of Truth
Making LED BLINK works with Raspberry Pi3
Scoure:
 git clone https://github.com/six0four/StudentSenseHat.git
 cd StudentSenseHat/firmware
 gcc -Wall -o traffic2B traffic2B.c -lwiringPi
 sudo ./traffic2B
Step 1:
I have Connected my PC board to Rasbperry Pi3:
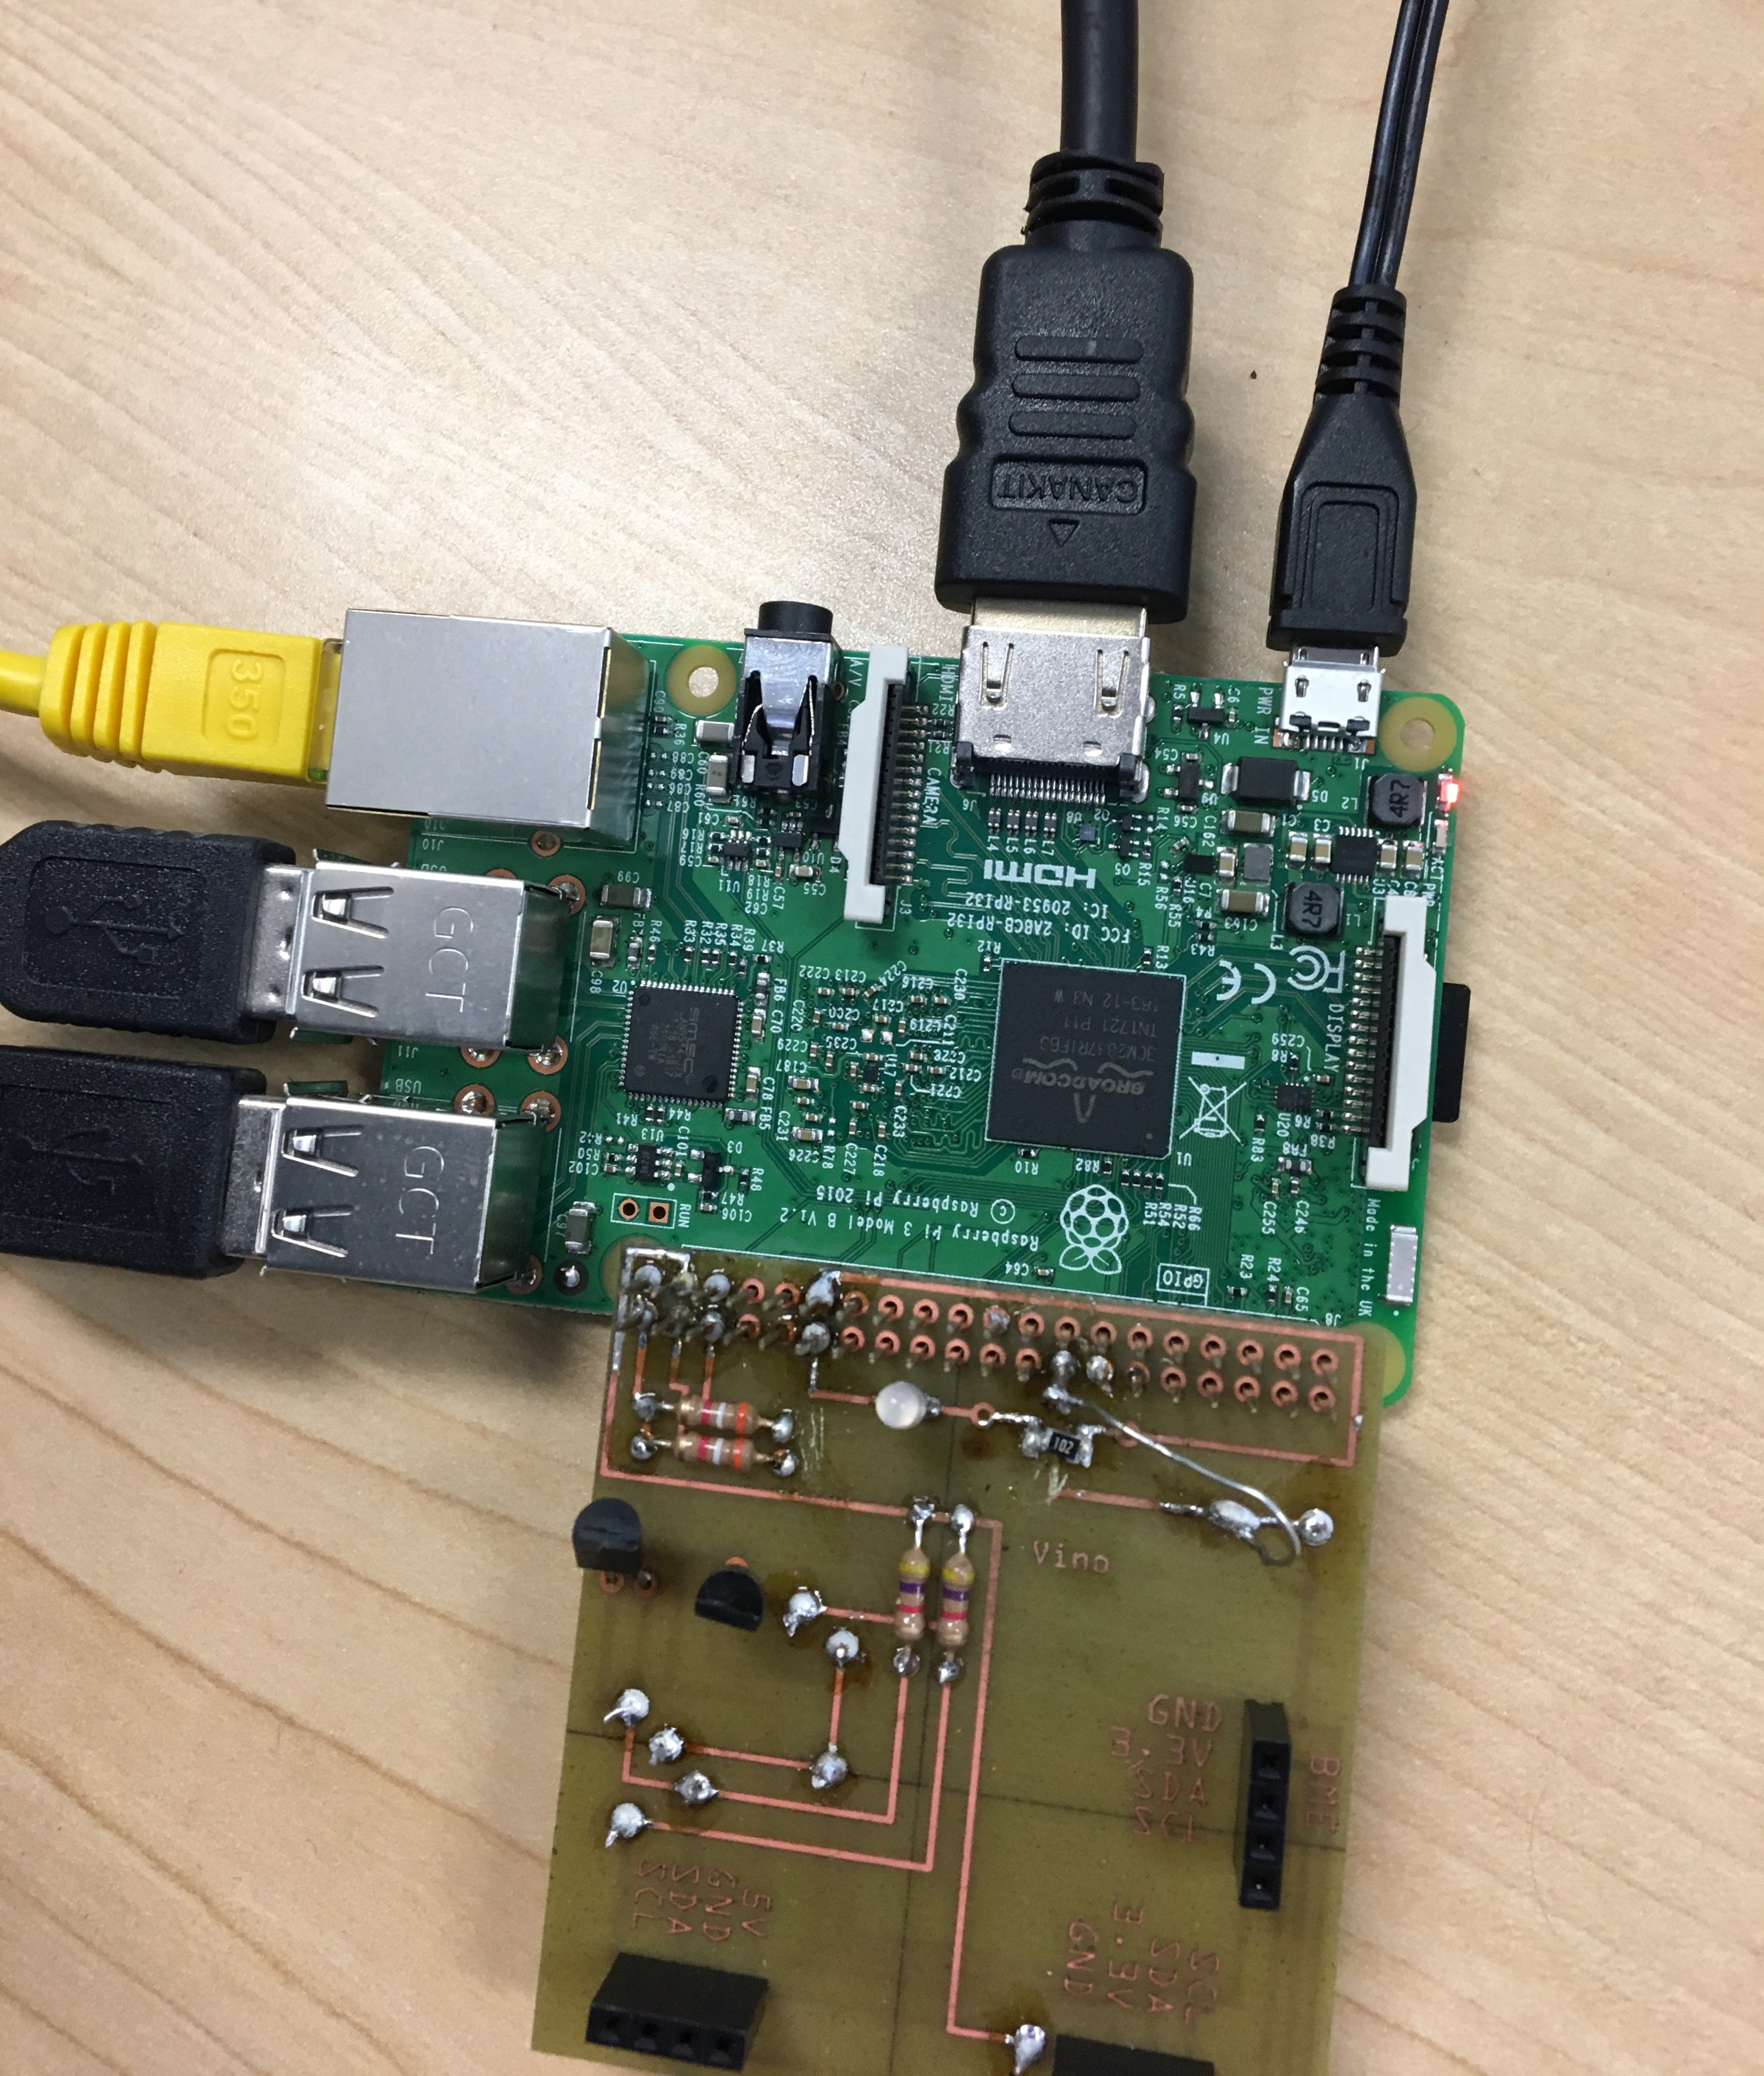
Step 2: Run Those Following Socure Code:
 git clone https://github.com/six0four/StudentSenseHat.git
 cd StudentSenseHat/firmware
 gcc -Wall -o traffic2B traffic2B.c -lwiringPi
 sudo ./traffic2B
Step 3:
Moment of Turth:
LED was Blinking order :
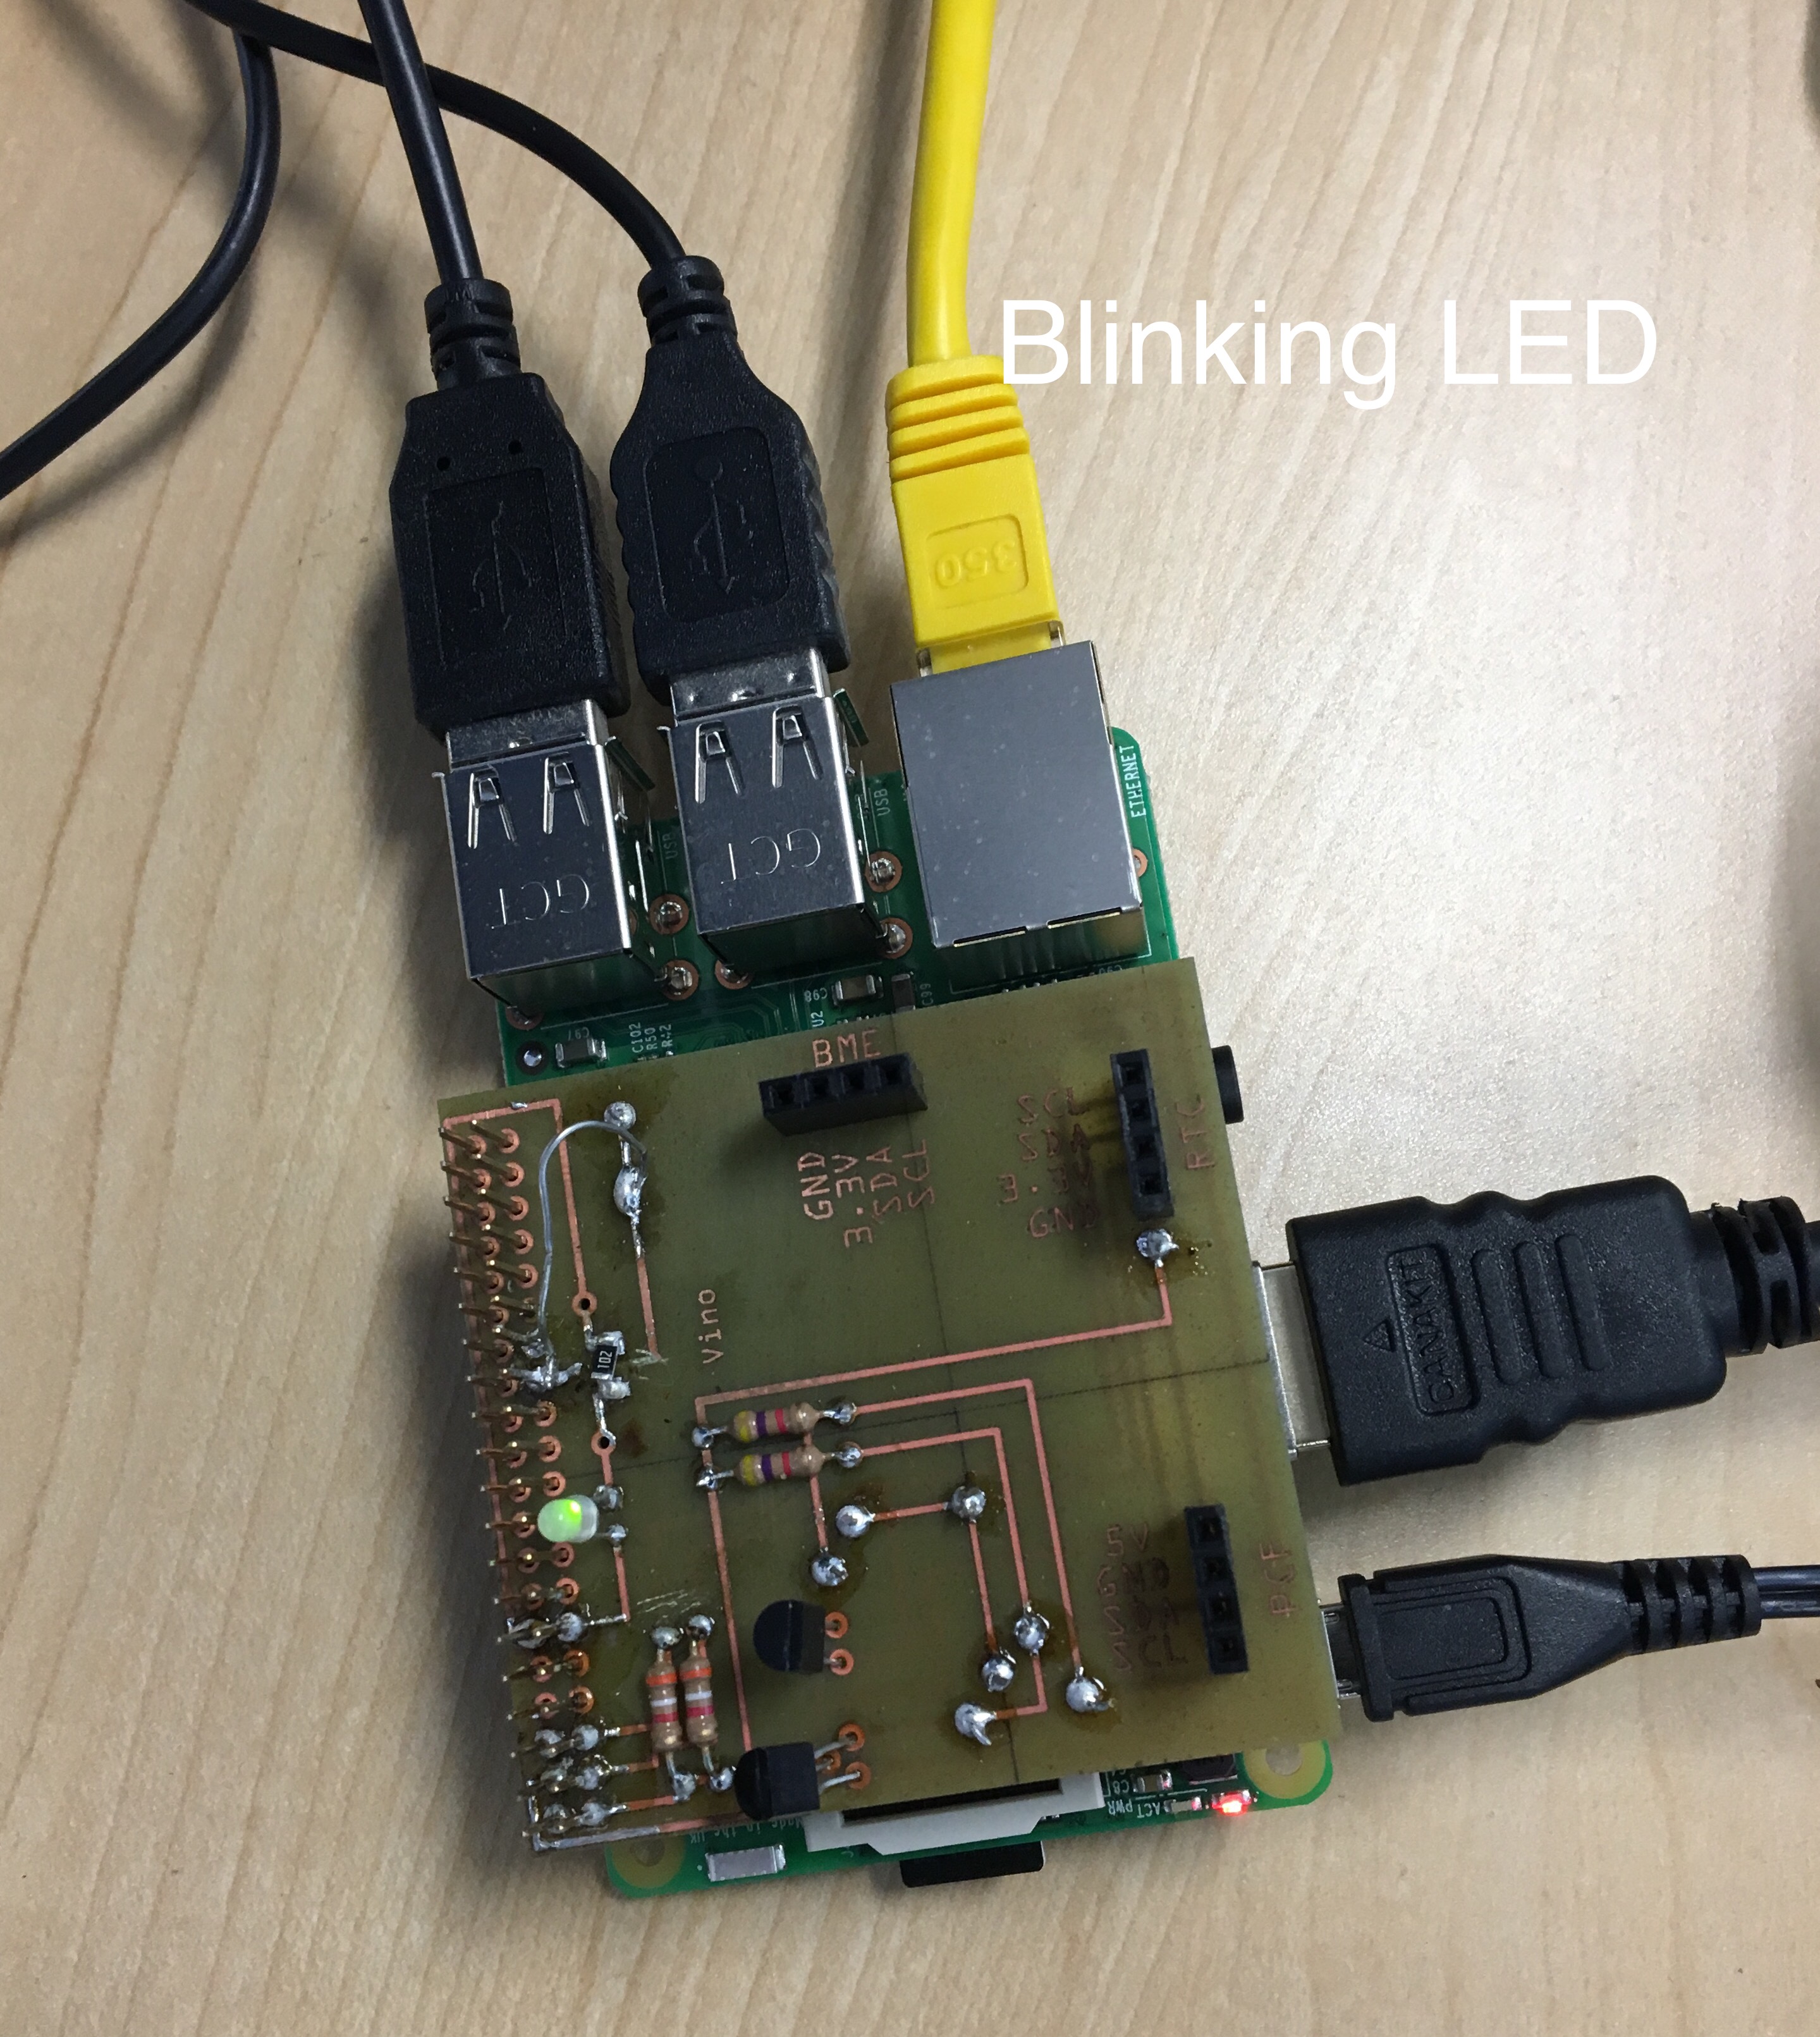
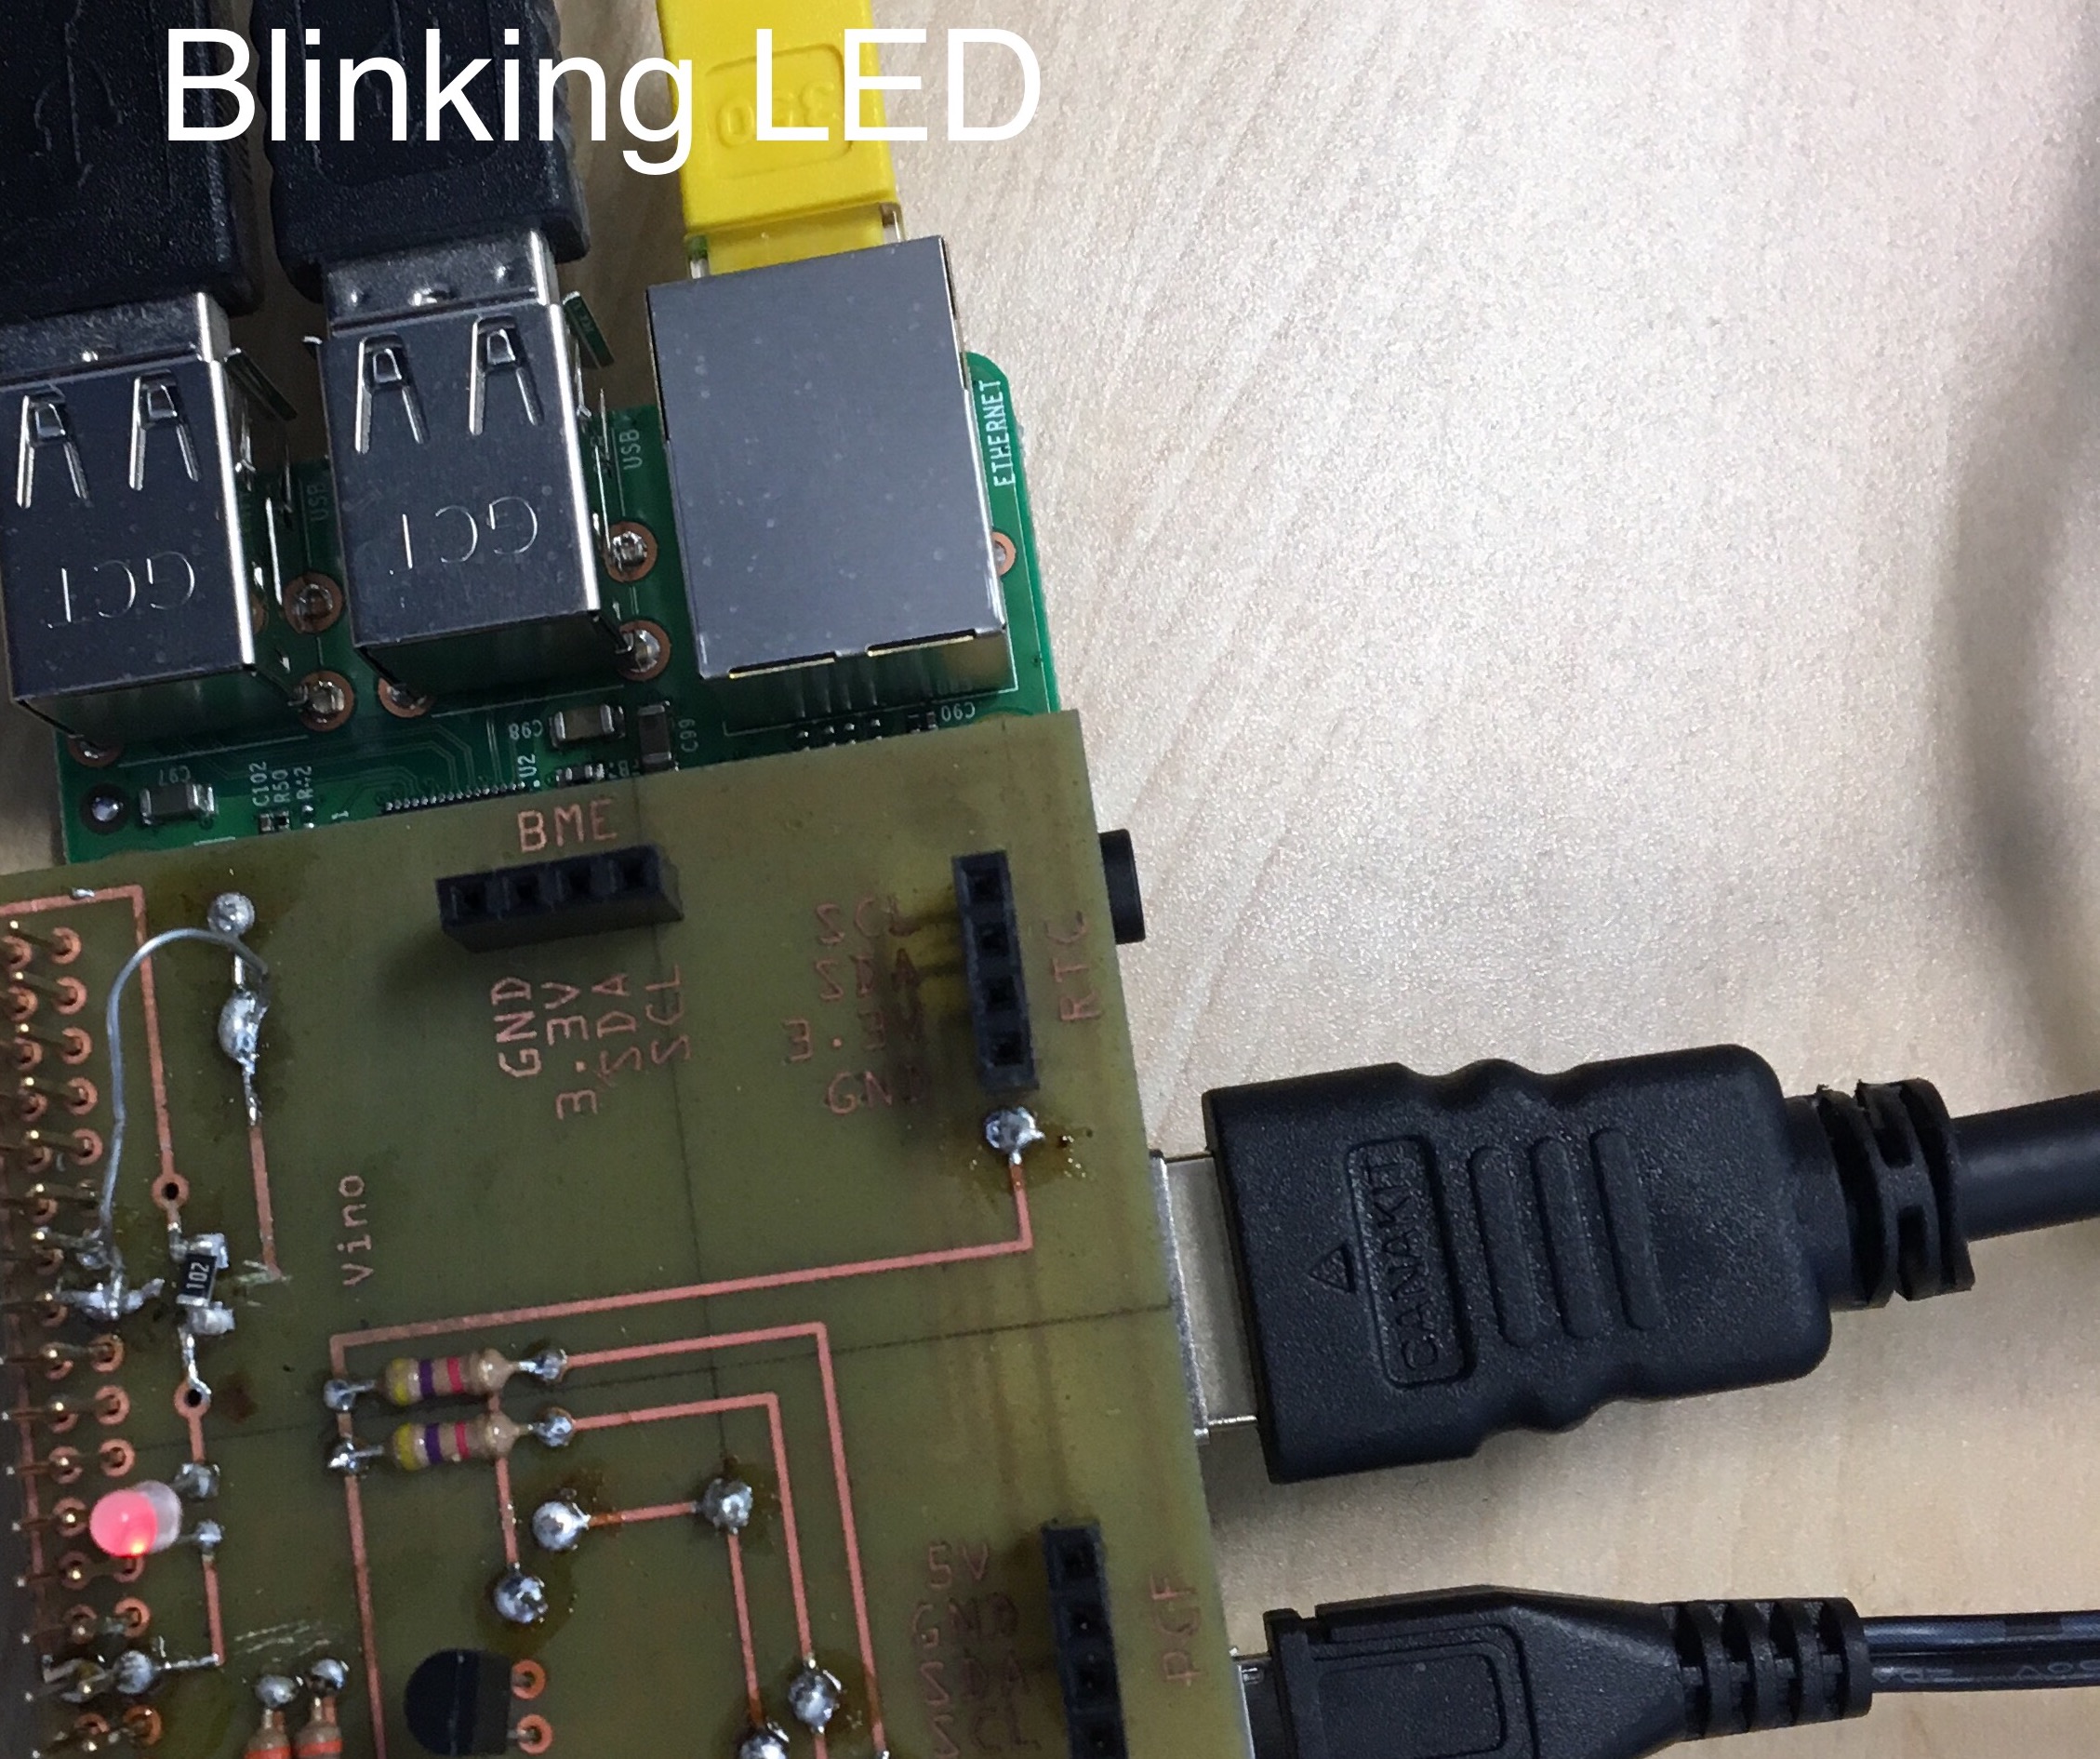
Report: I Connected pc to my Rasbperry and then I ran traffic2B program and then LED was started to blinking from PC baord. When program says Red, the PCB LED was blinking Red and When program says Greed, the PCB LED was blinking green and also OFF.
Making sensor work with Rasbperry Pi3:
Step 1:
From the Start Menu->Preferences->Raspberry Pi Configuration->Interfaces set I2C to Enabled.
Step 2:
 Shell
 make
 sudo ./ghmain
On Termnial

Report:
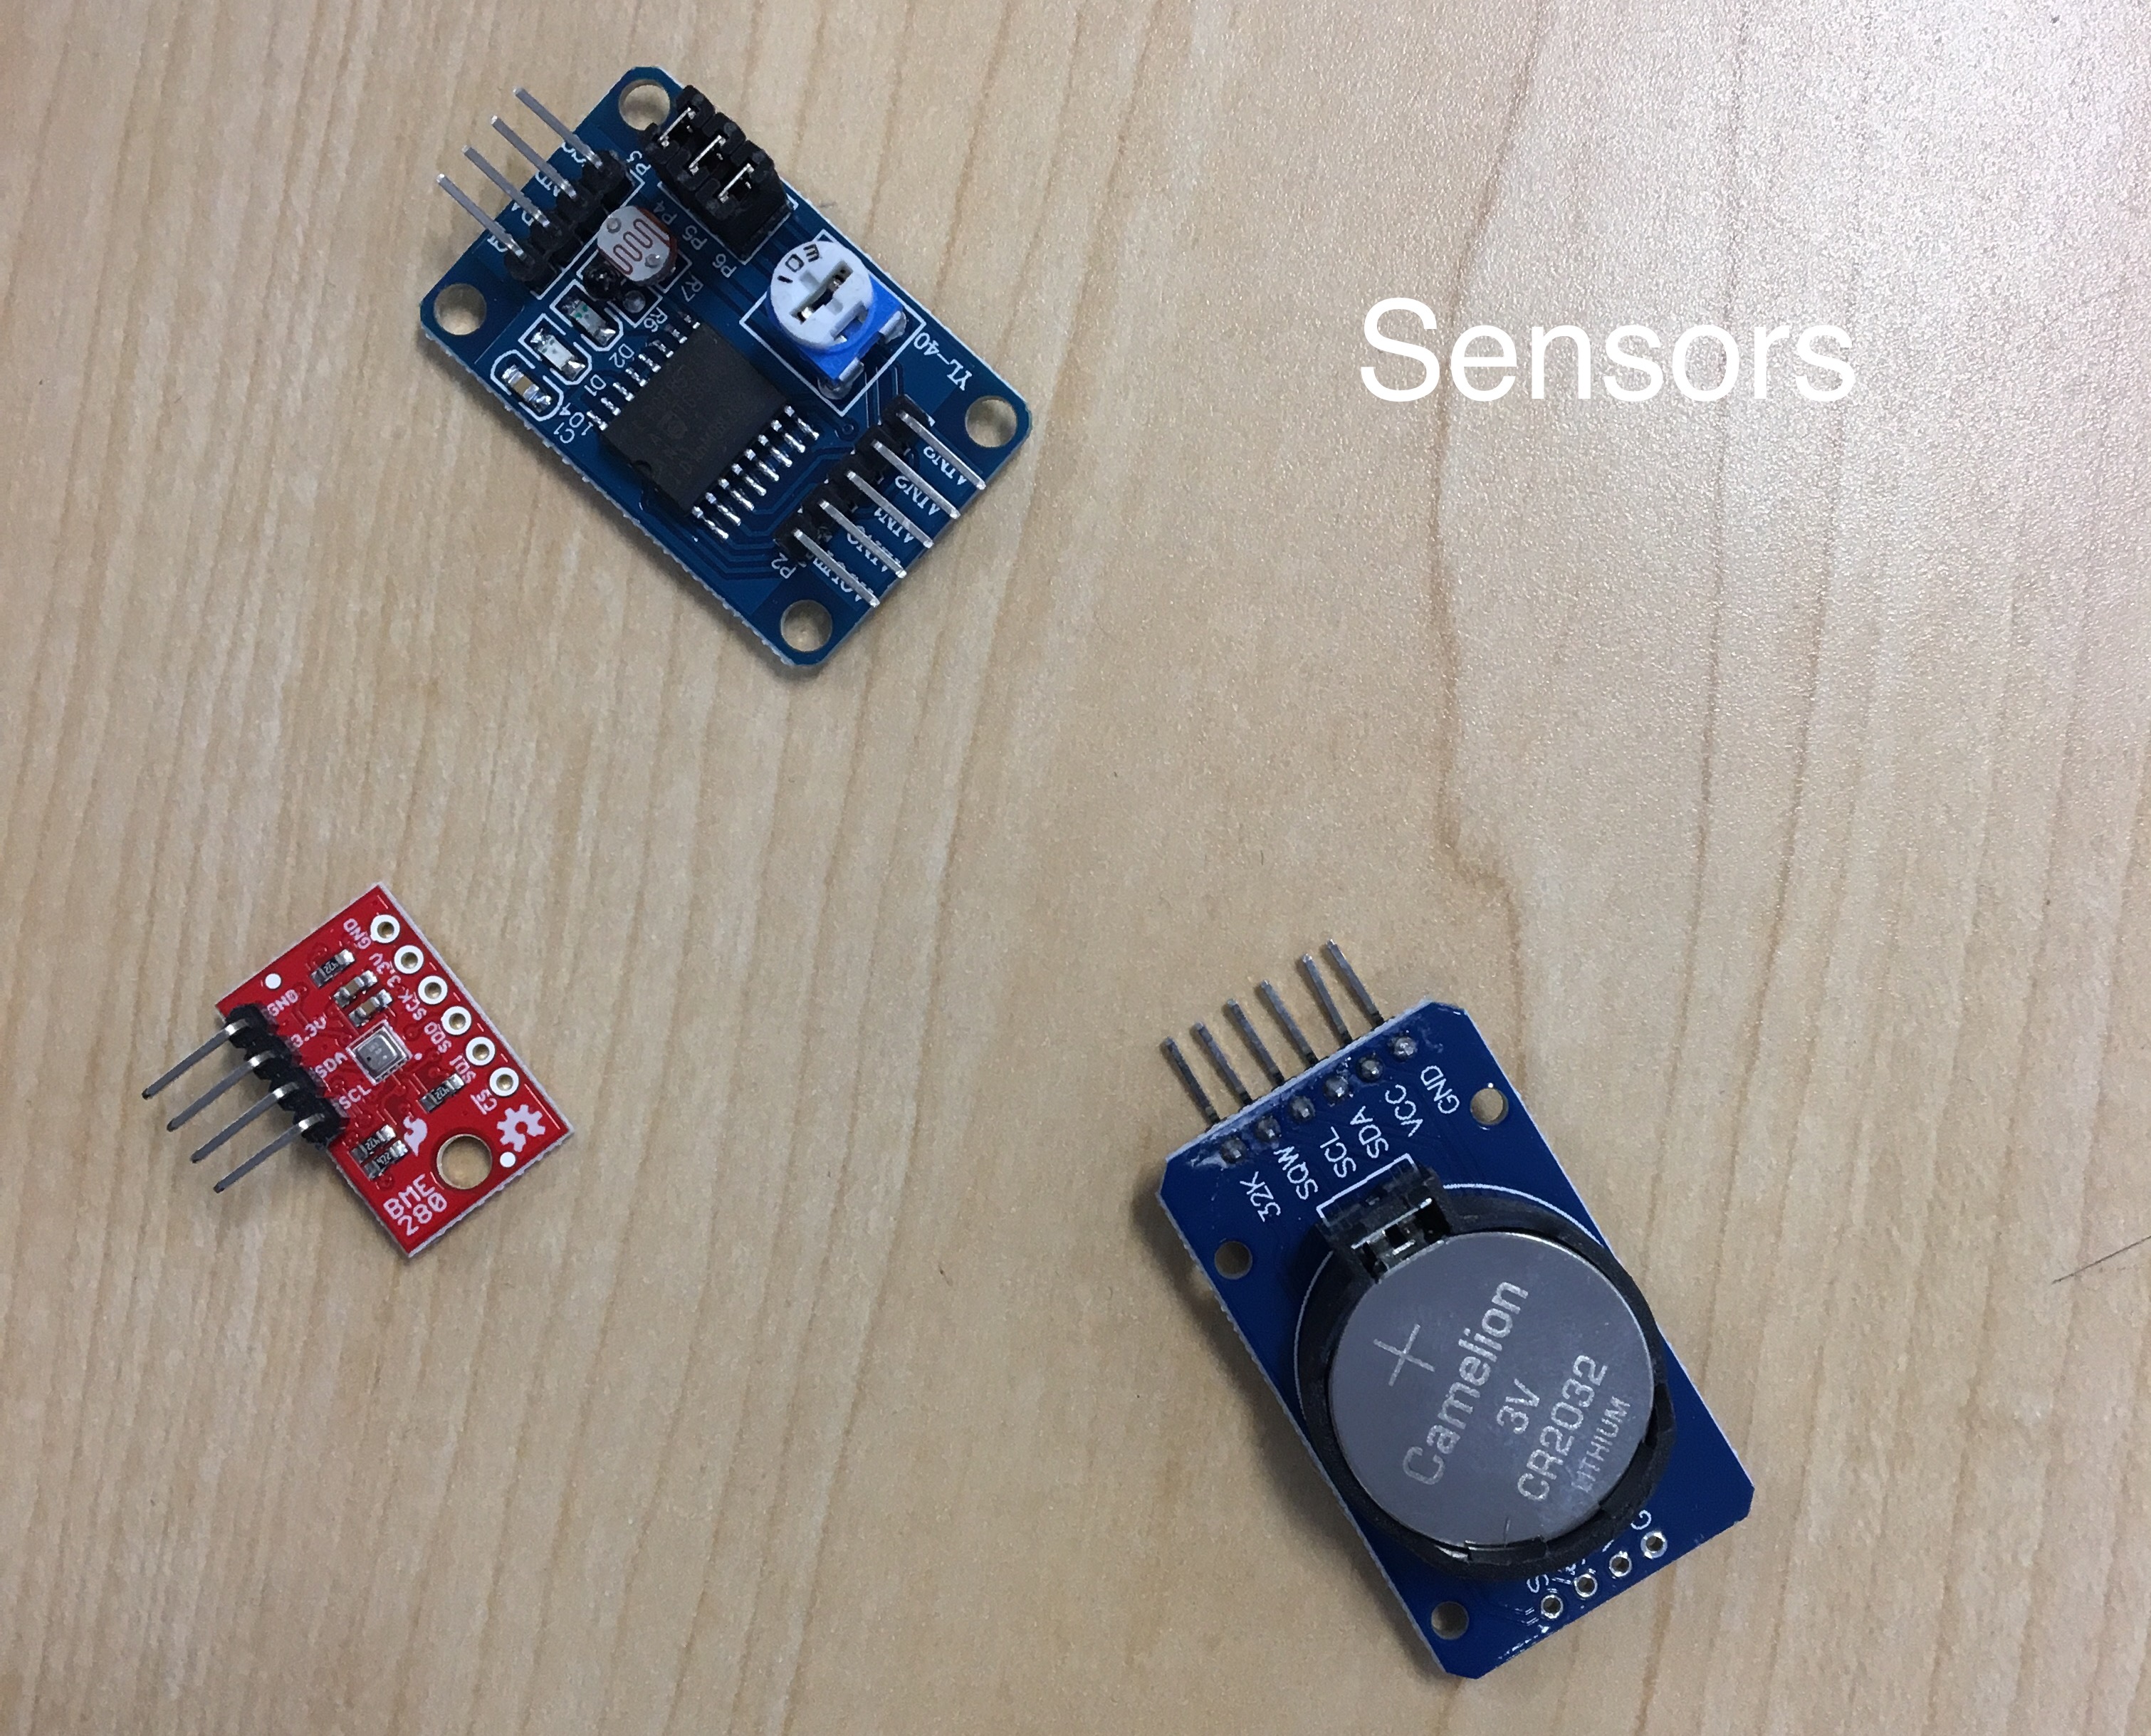
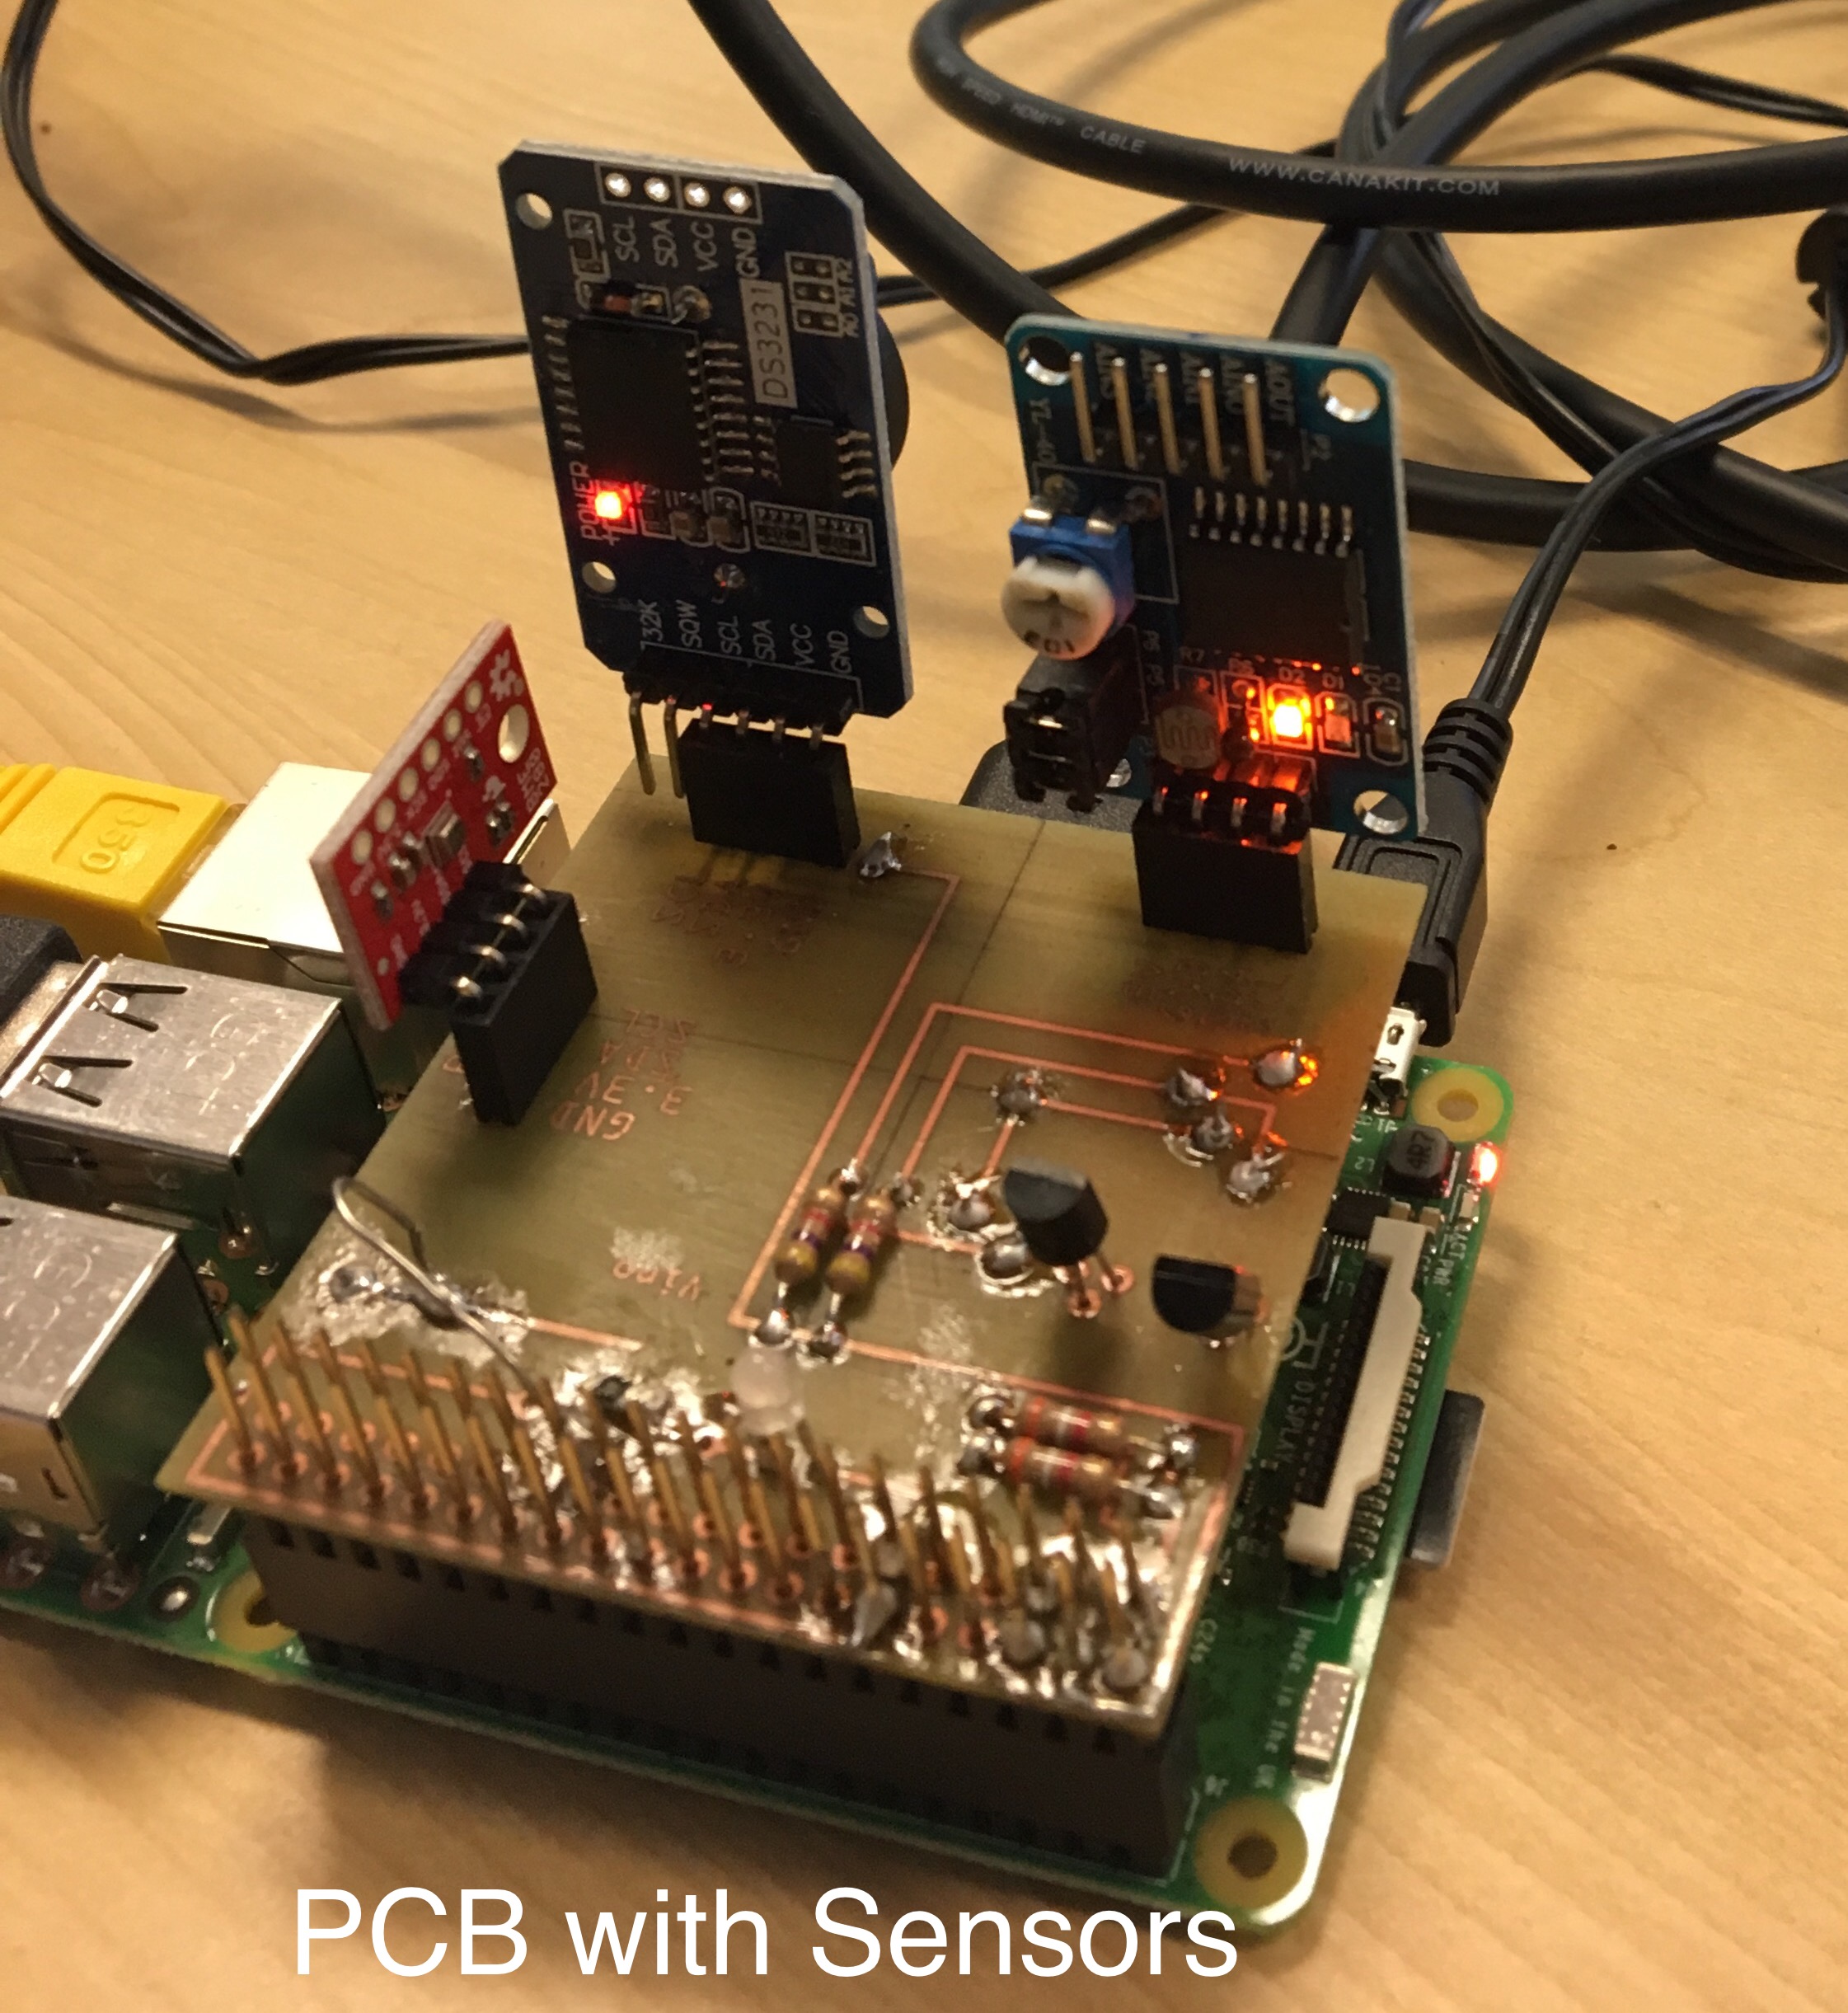
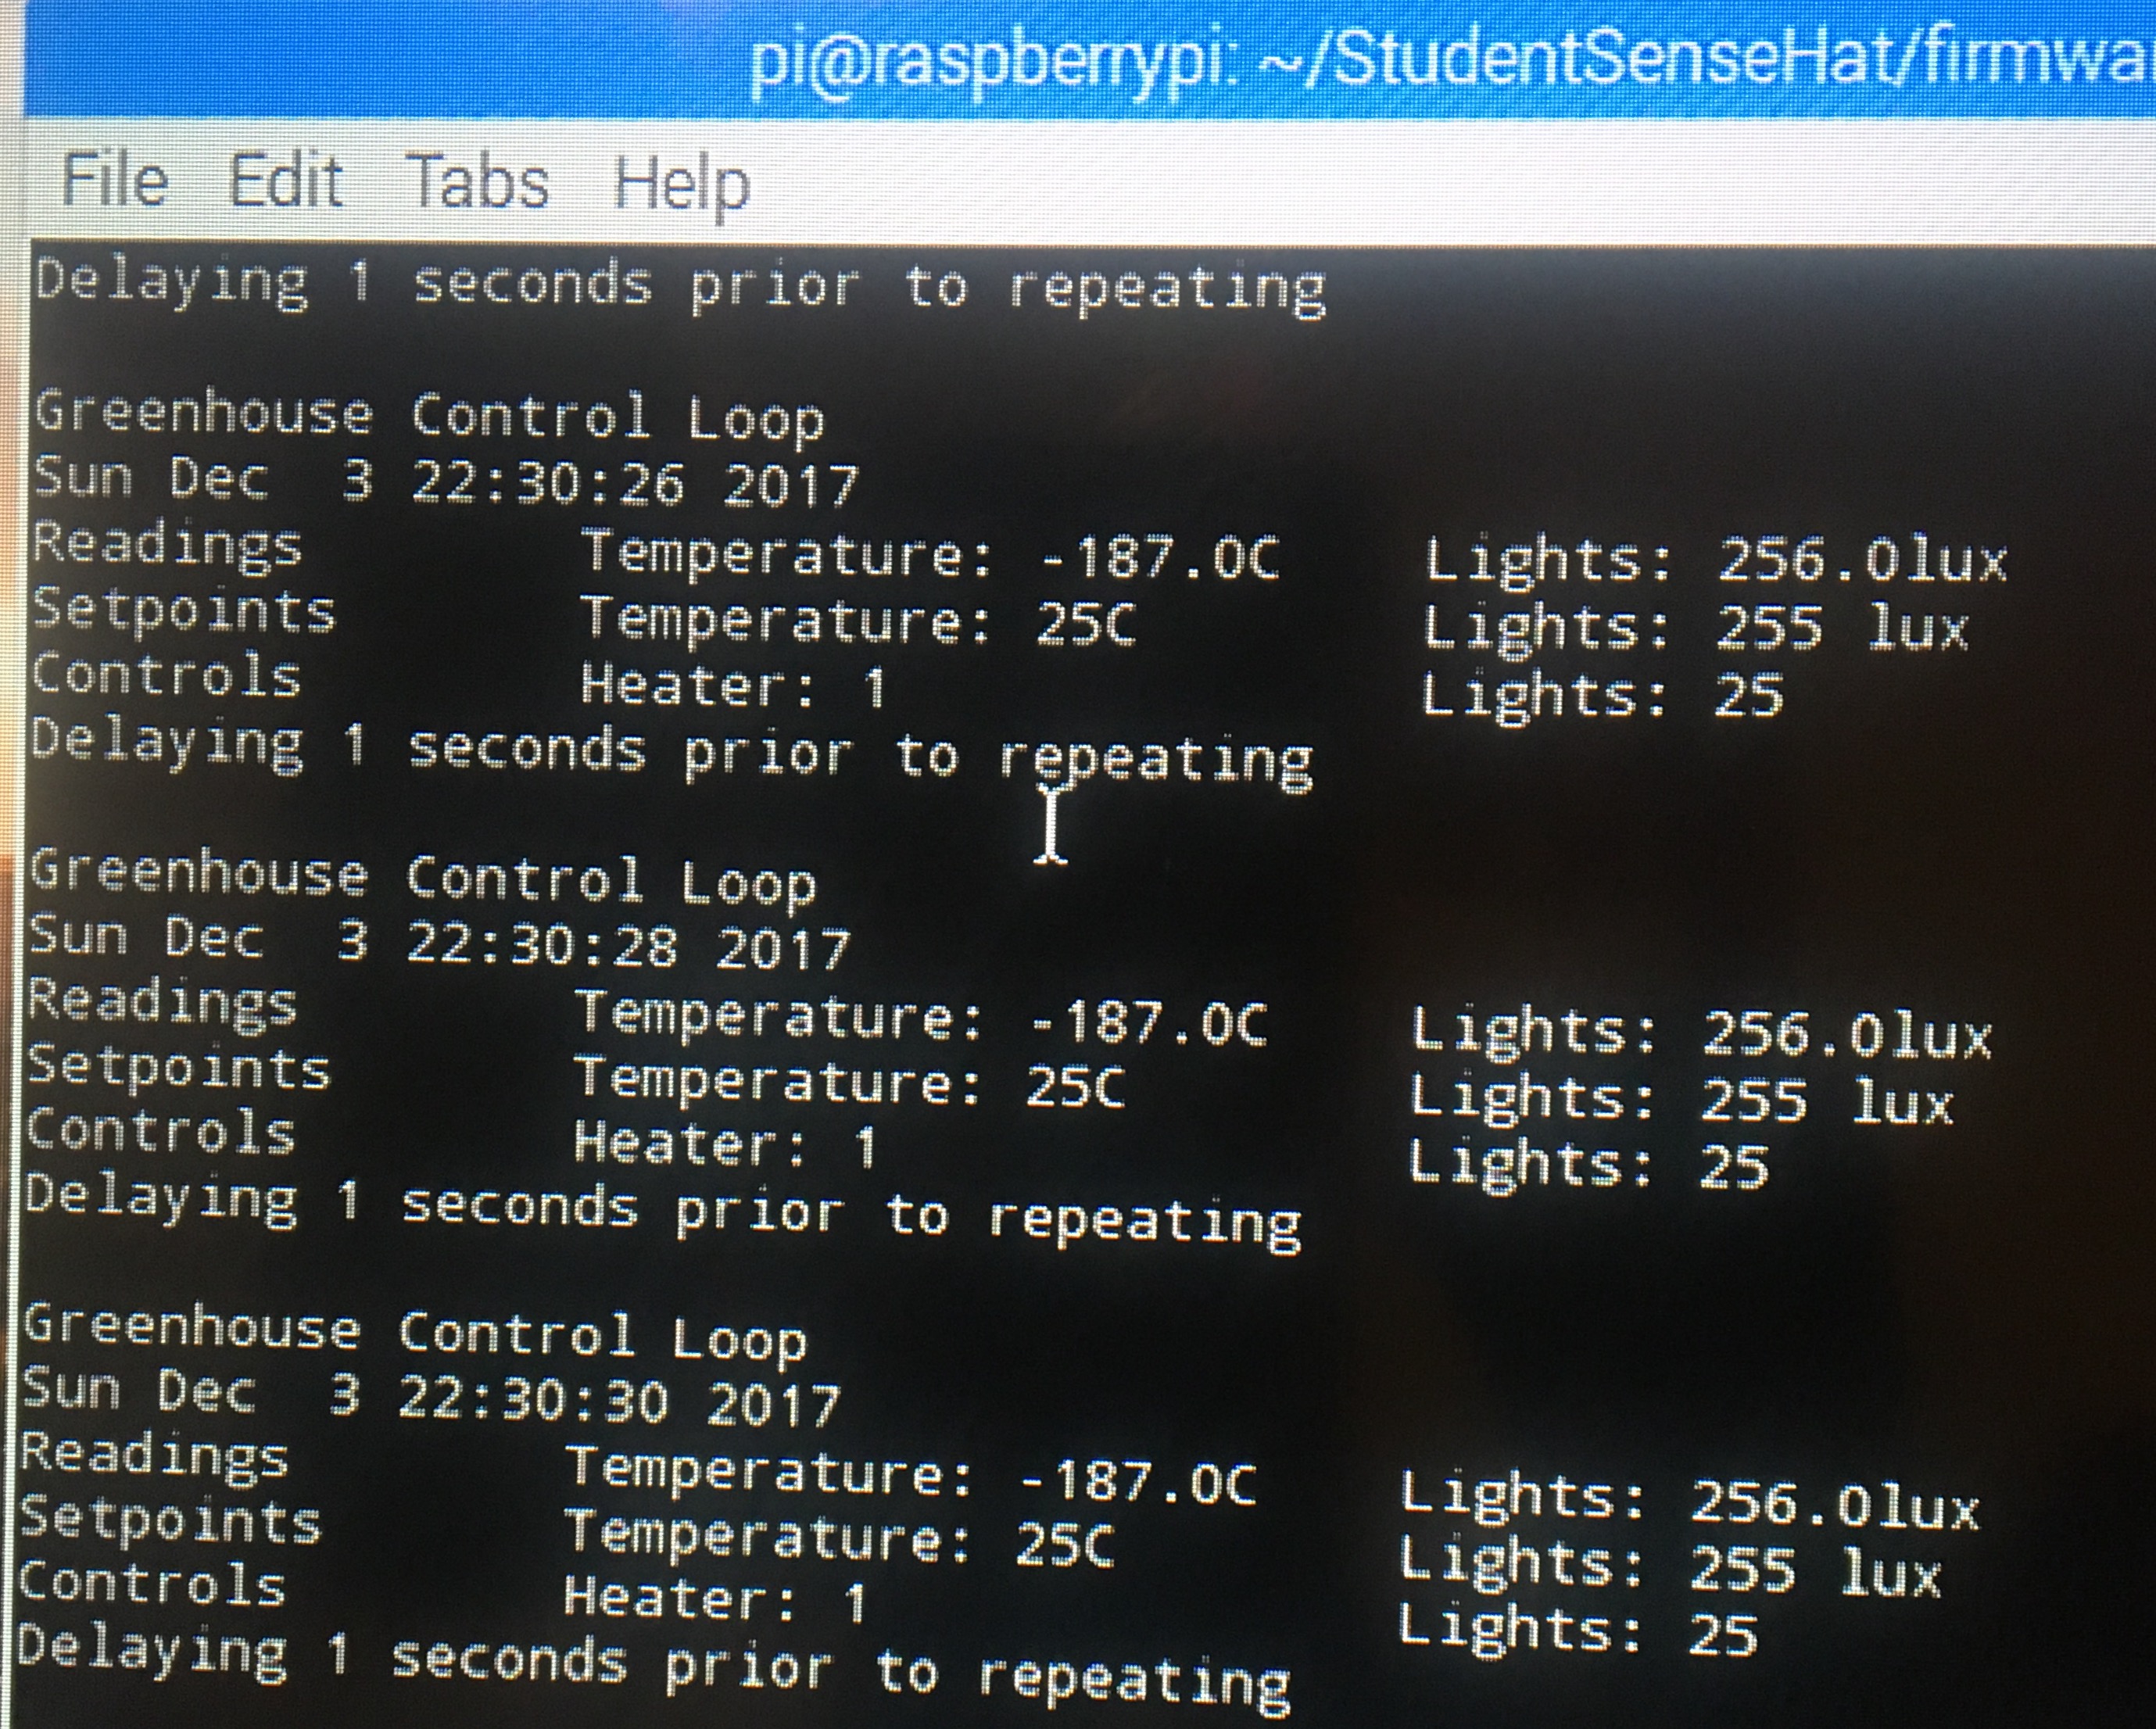
On Terminal, I connected the seonsors which are (light, tempatue humidity) working fine expect humidity. I ran the program called ghmain. and then light sensor detecting the light, Tempeature sensor was detecting the tempeature, and lastly the humidity was not detecting probaly. I am having some issue with Connection on P board.
Isues with Programming code:
We have fixed the isue with new Programming code and now it is running very smoothly. All the sensors are detecting probably.
Isues with PC board I had an isue with pc boad layout and then Kelly could able to fixed to for me . It was great expernices
November 27, 2017 - Week 6
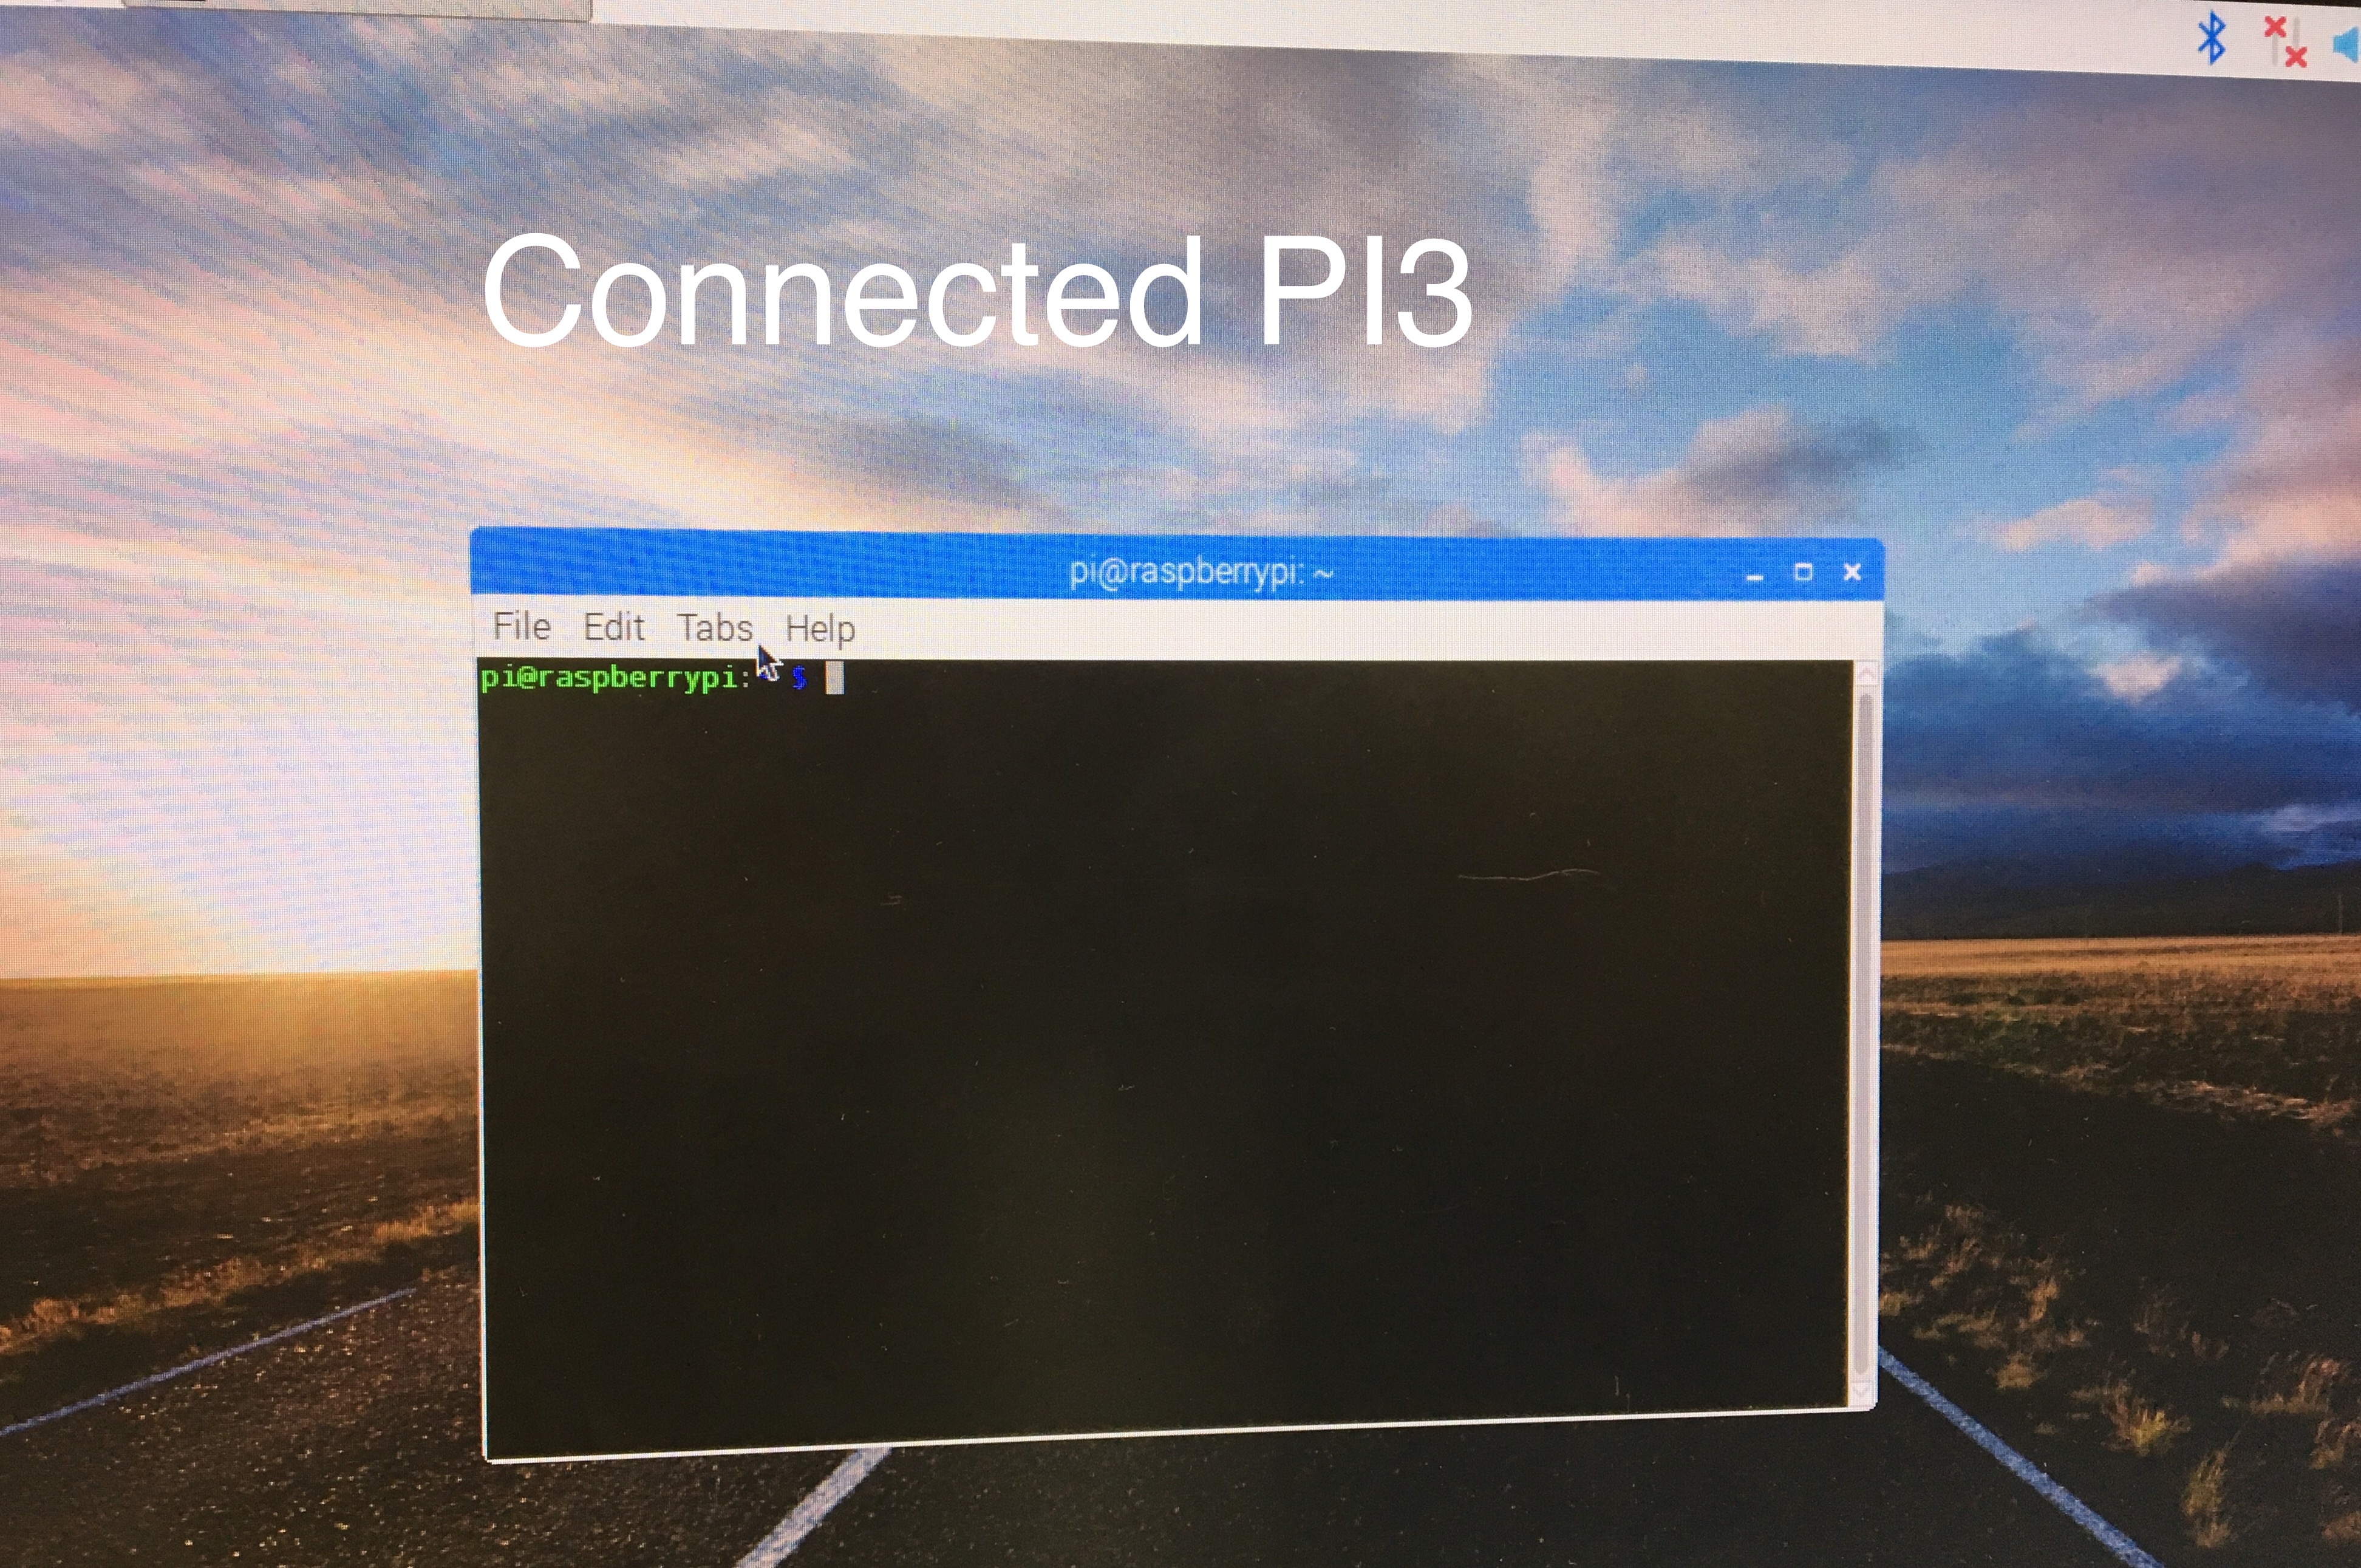
Connecting Pi3 first time
I have my PC Board Soldered and I made my Board working and now I need to connect to my Pc Board to Rapsiberry Pi.
I have tested with Vlad.
Working With Raspberry pi3- Amazing Teachnology ever Built :O
- I have installed the opearting system.
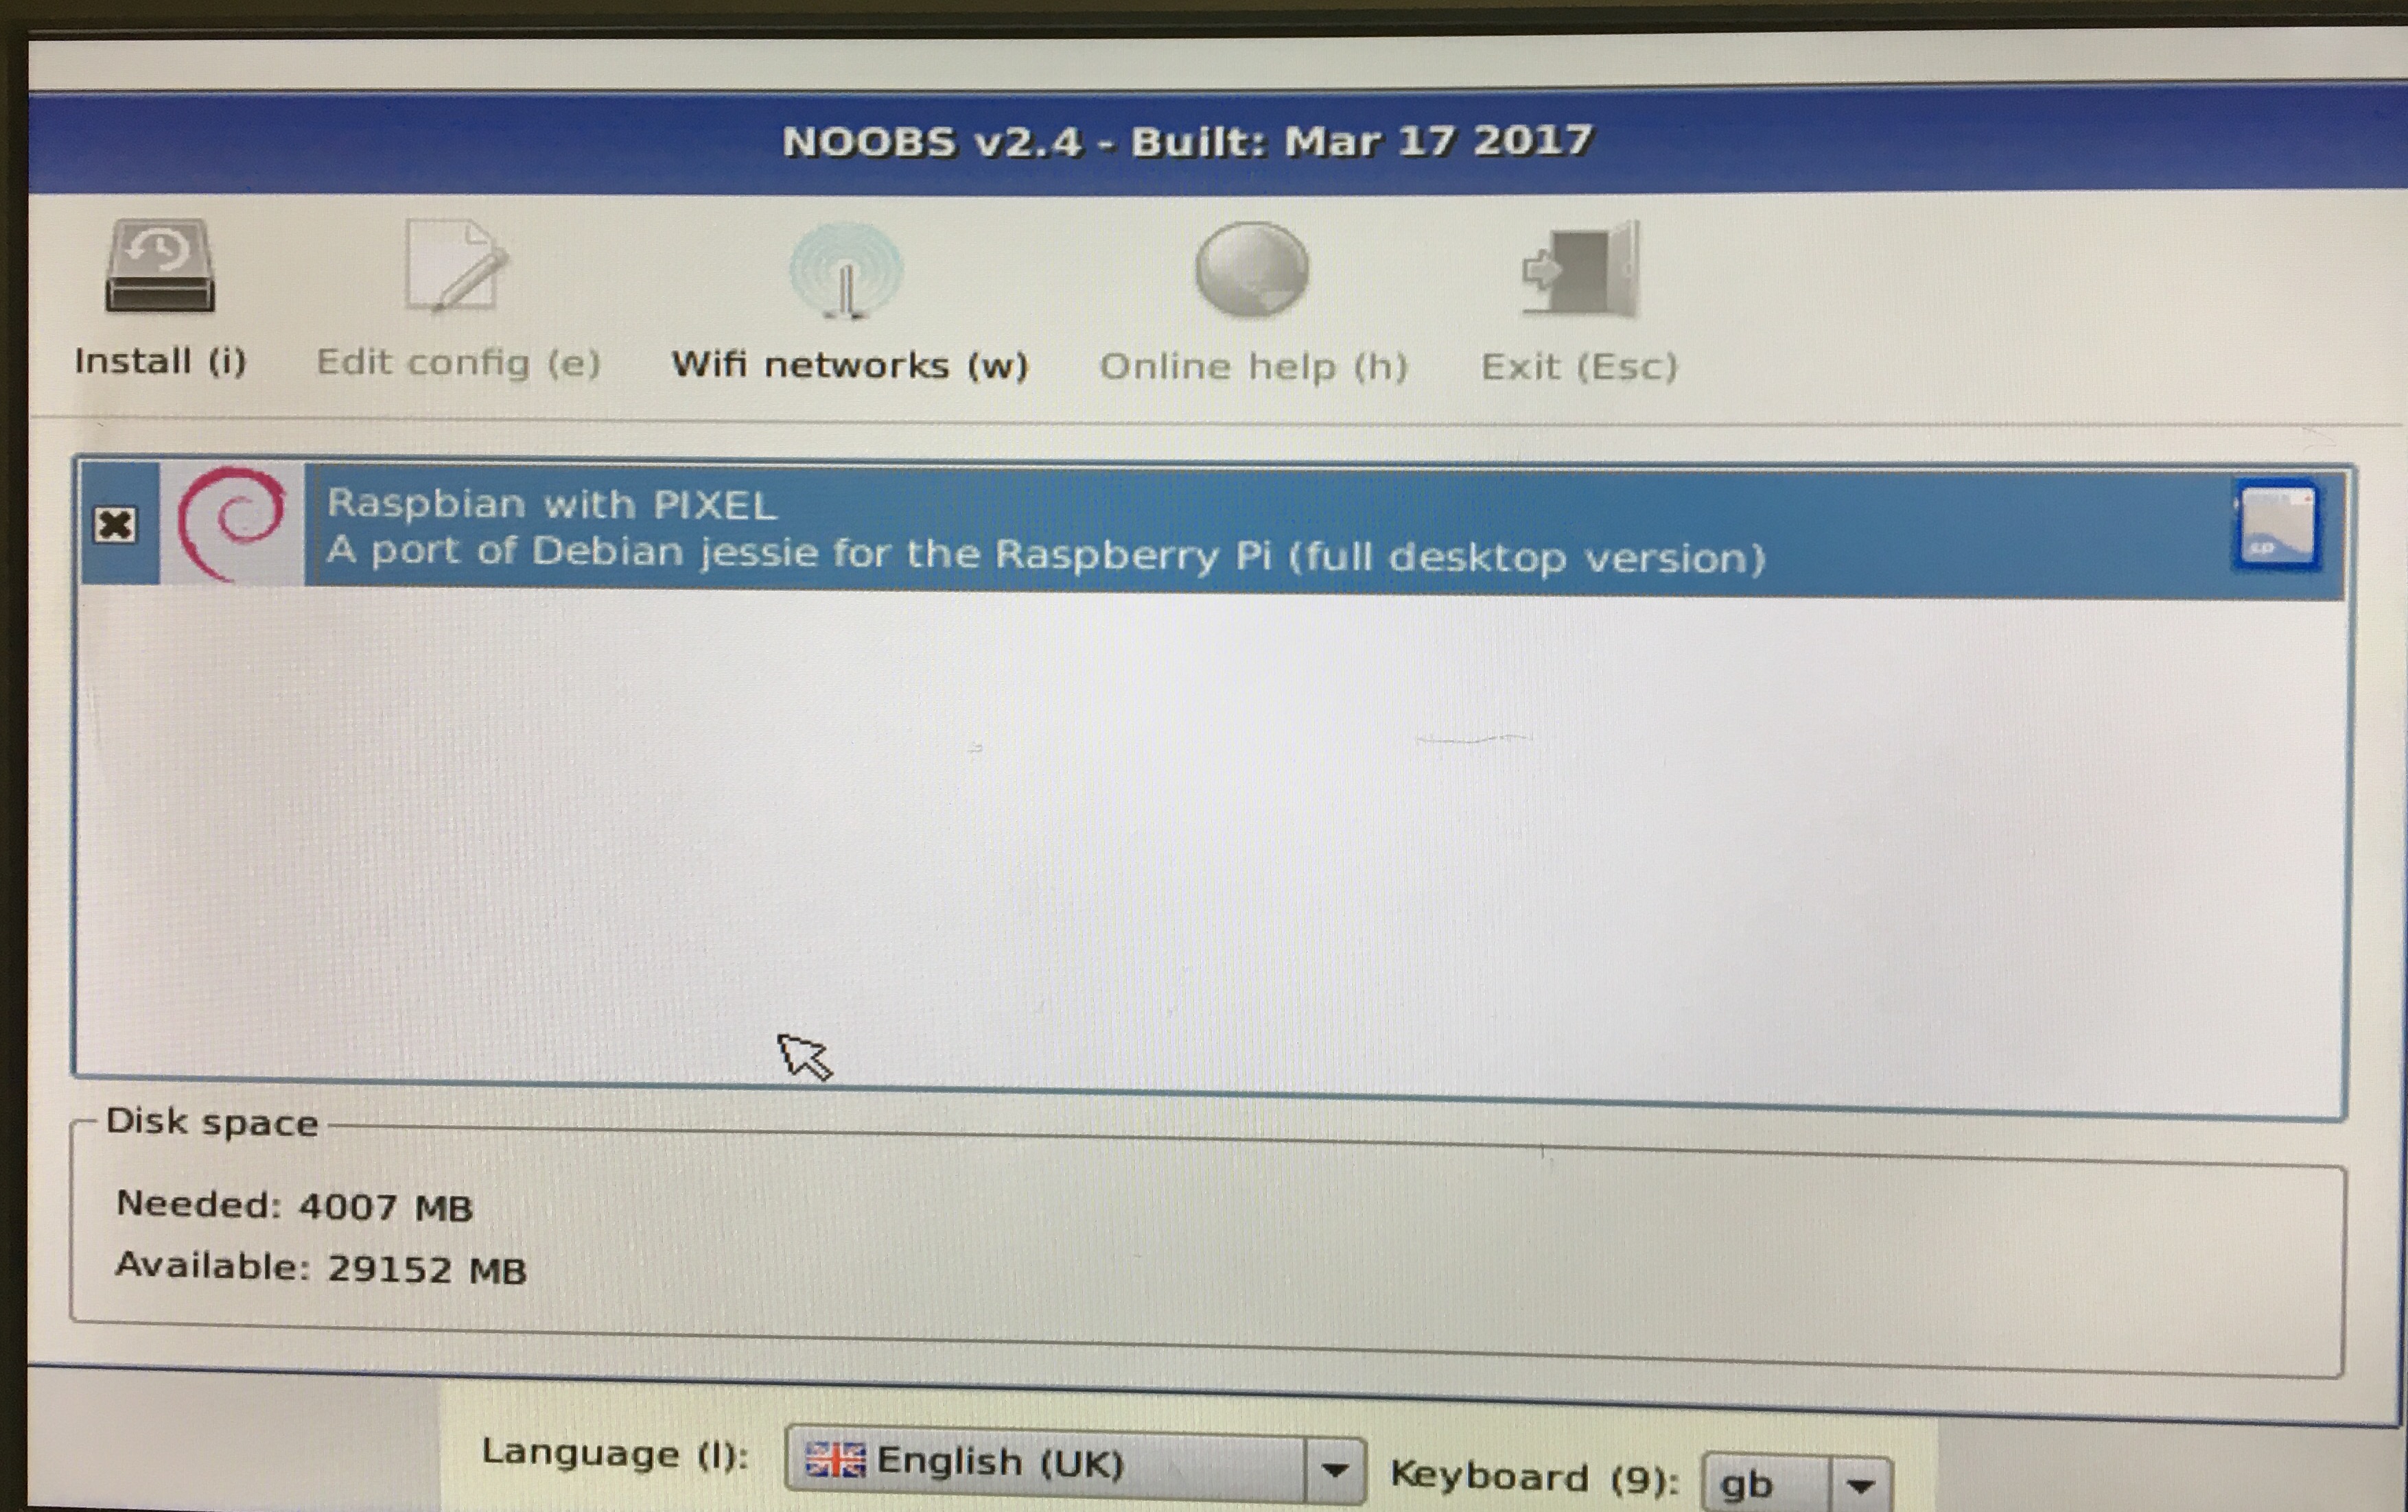
- I am activating the Wifi Setting Having some issues . Hope I fix it
 ————-
————-
October 23, 2017 - Week 5
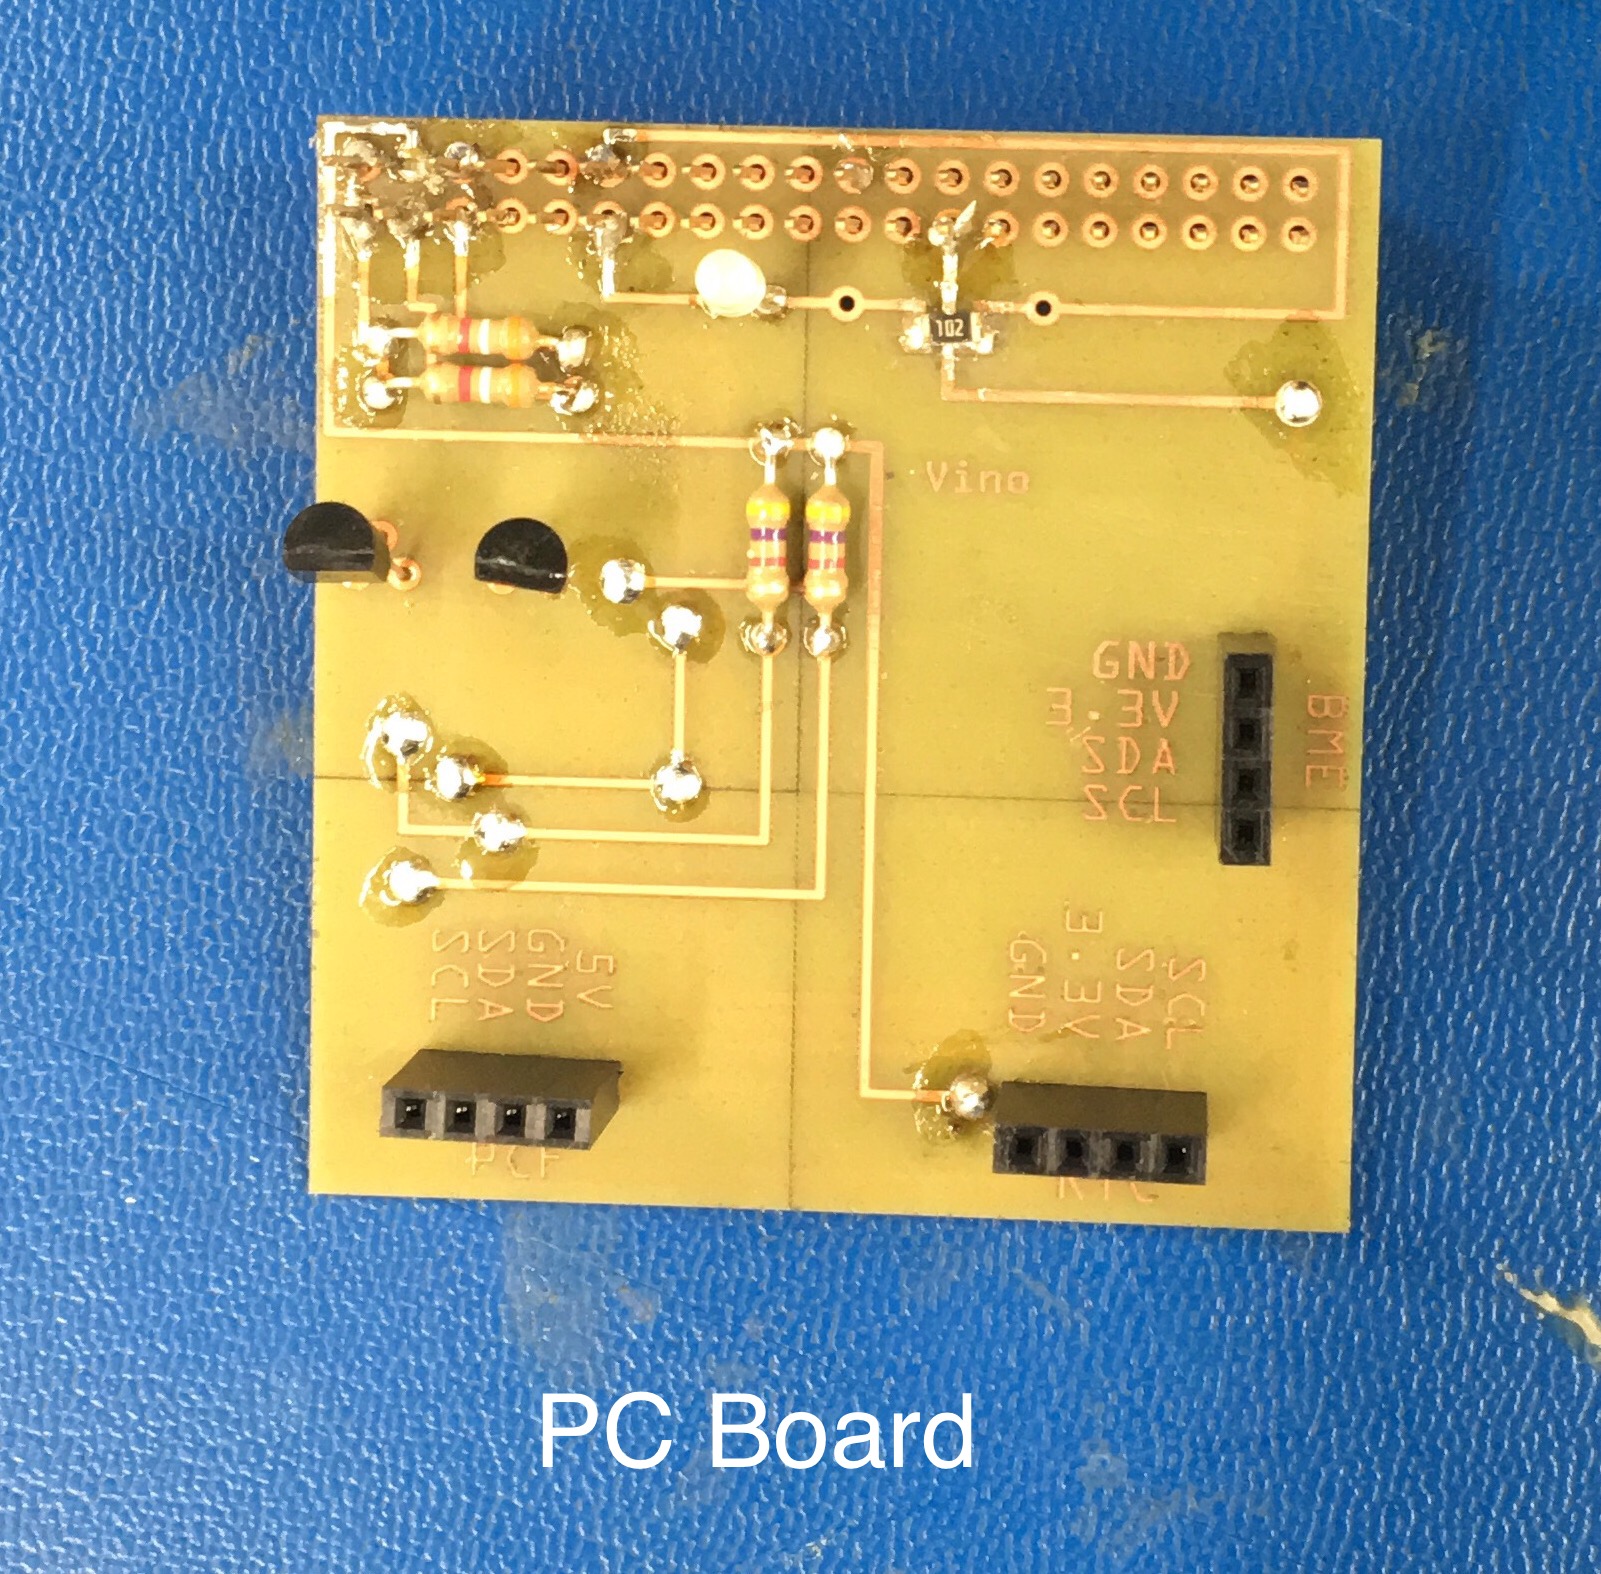
PC Board
I had some issues while I was soldering. Then I got helped from Vlad and He was teaching my How to fix if the slodering is not in proper.
I had hard time putting resister on my PC board but after Vlad watching taching some trick then I was able to do it by myself. It was great!!!!

October 16, 2017 - Week 4
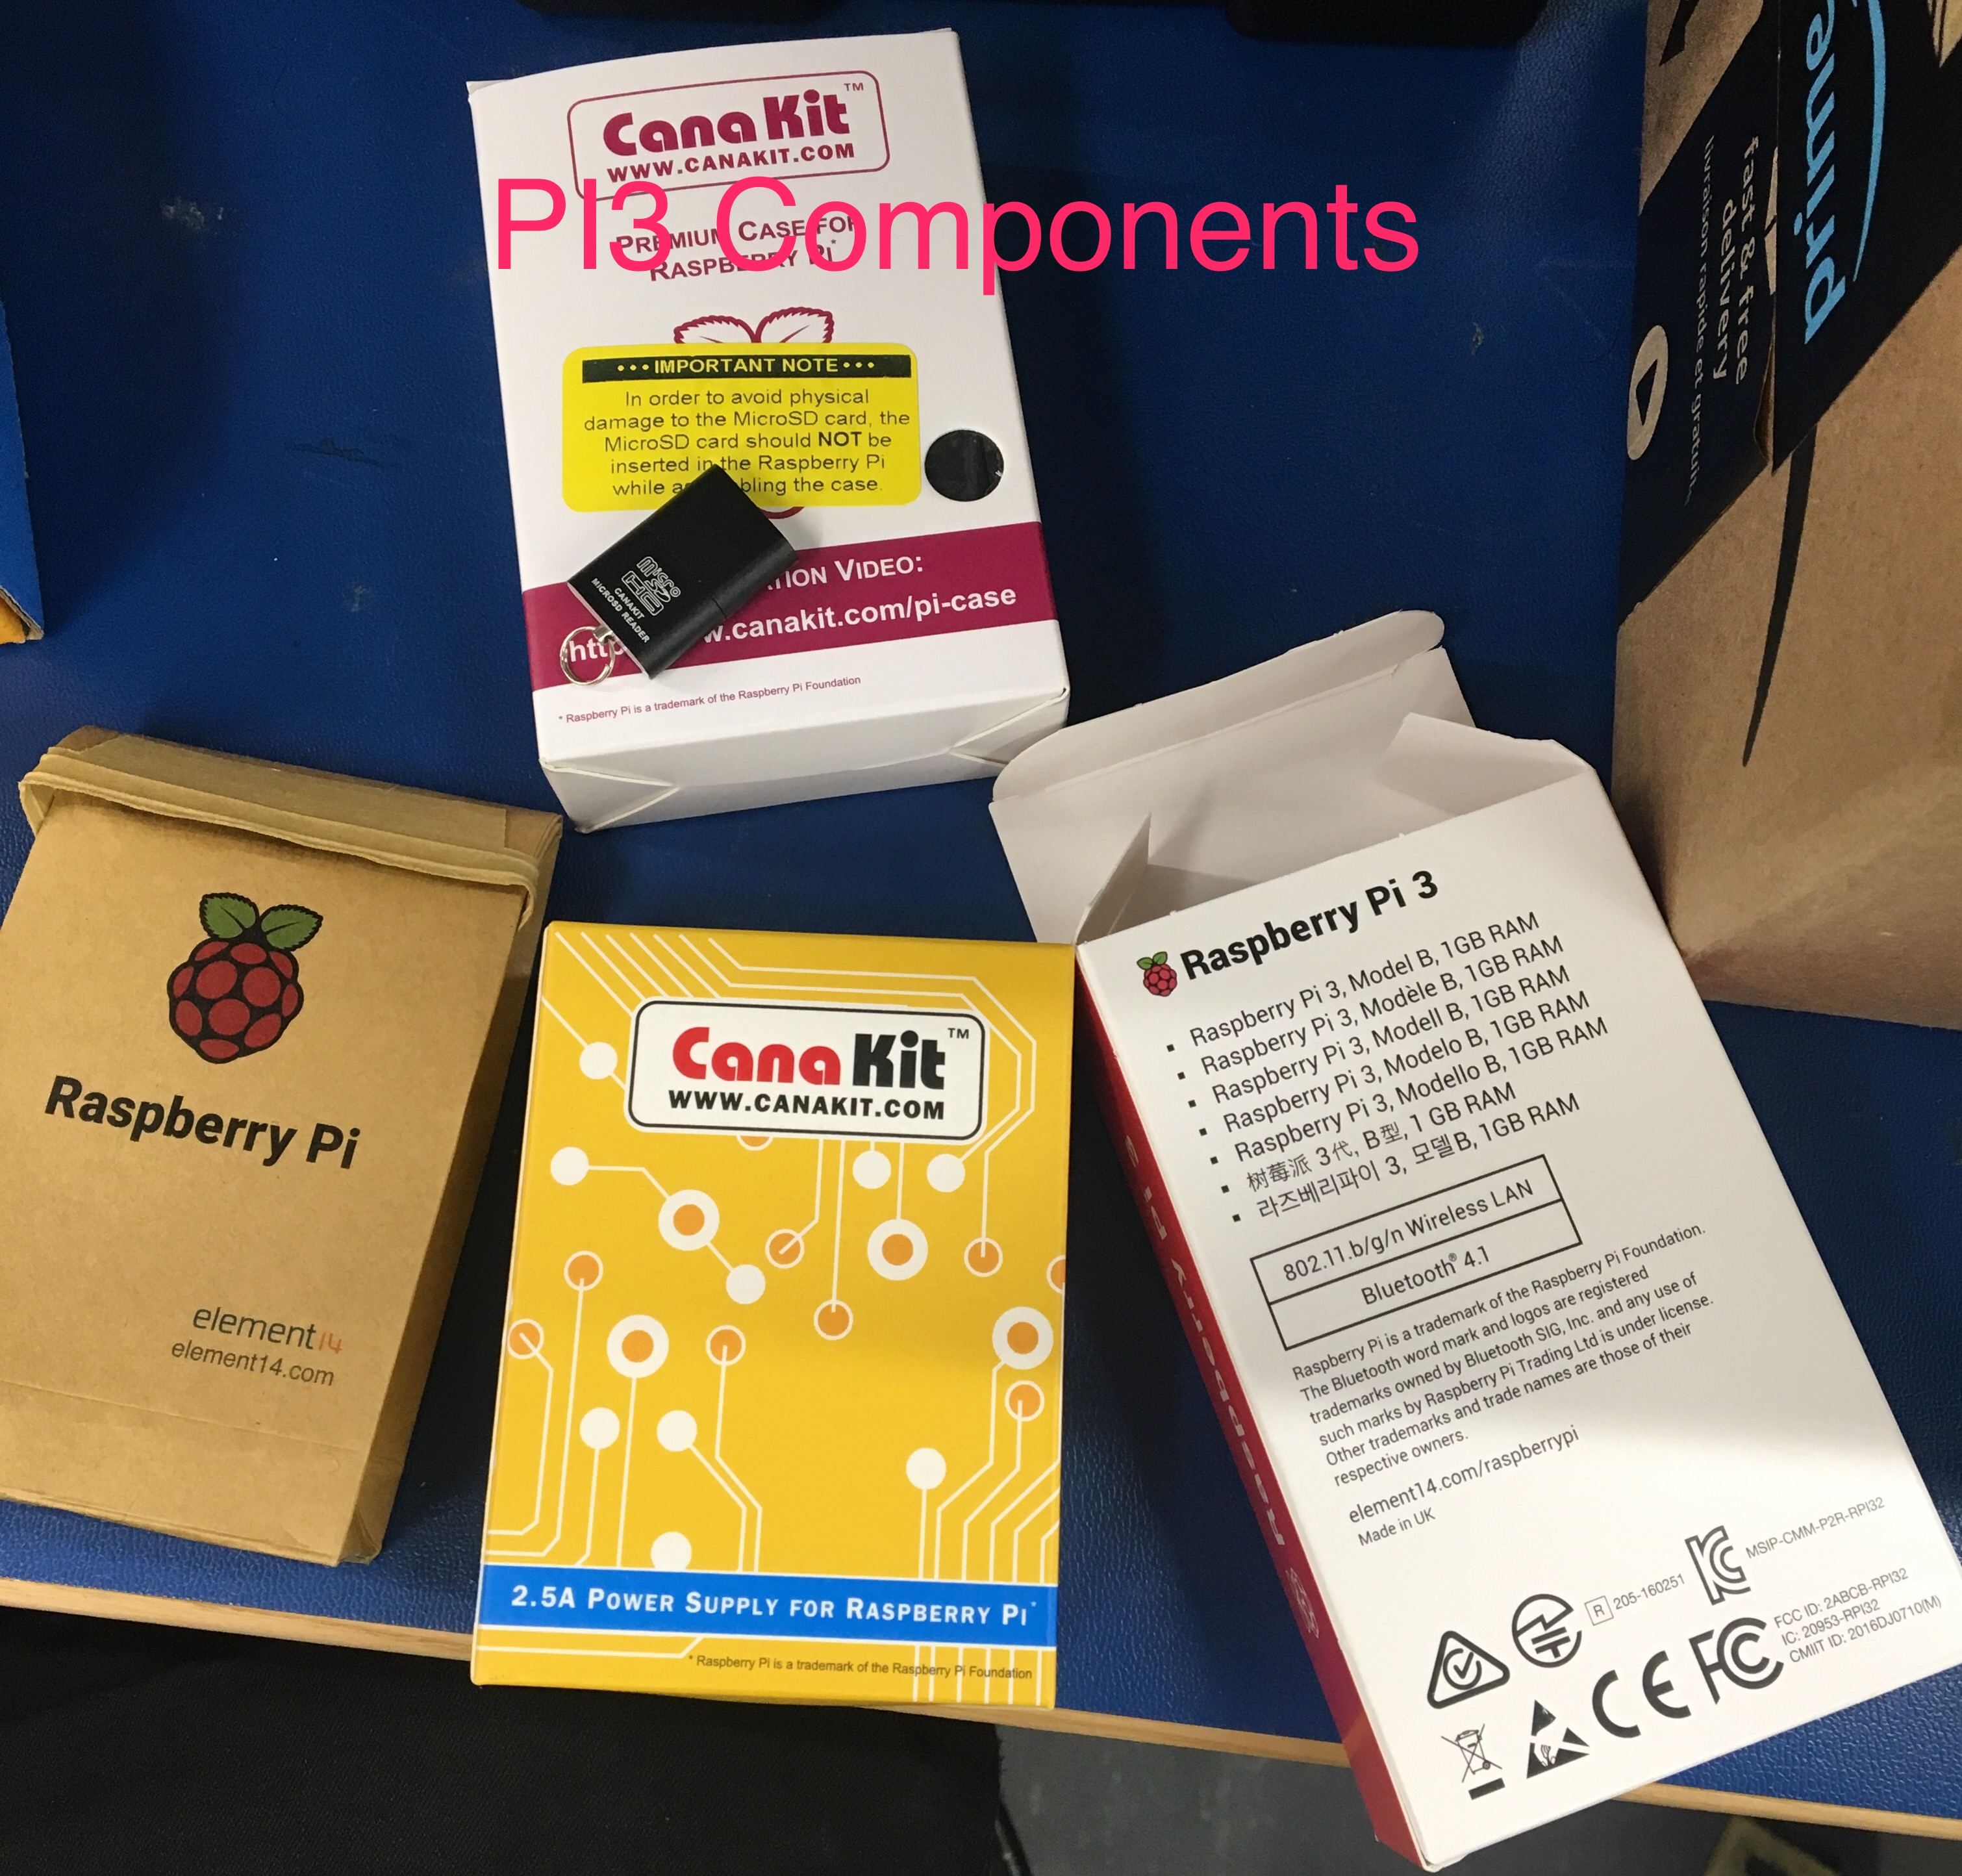
Proof of Purchases
CanaKit Raspberry Pi 3 Complete Starter Kit - 32 GB Edition
Invoice.
SunFounder Relay Module for Arduino 5V DC Trigger by Low
Invoice.
SunFounder Active Buzzer Sensor Module for Arduino and Raspberry Pi
Invoice.
 ————-
————-
October 02, 2017 - Week 3
Budget Report
I have created my Budget Report.
September 25, 2017 - Week 2
Gantt chart schedule
I have Created Gantt Chart schedule.
September 18, 2017 - Week 1
Proposal
I have Created proposal.
September 6, 2017 - Week 0
Respository
I have Created repository.
August 30, 2017
Welcome to my Blog!!!!!
## Repository created!